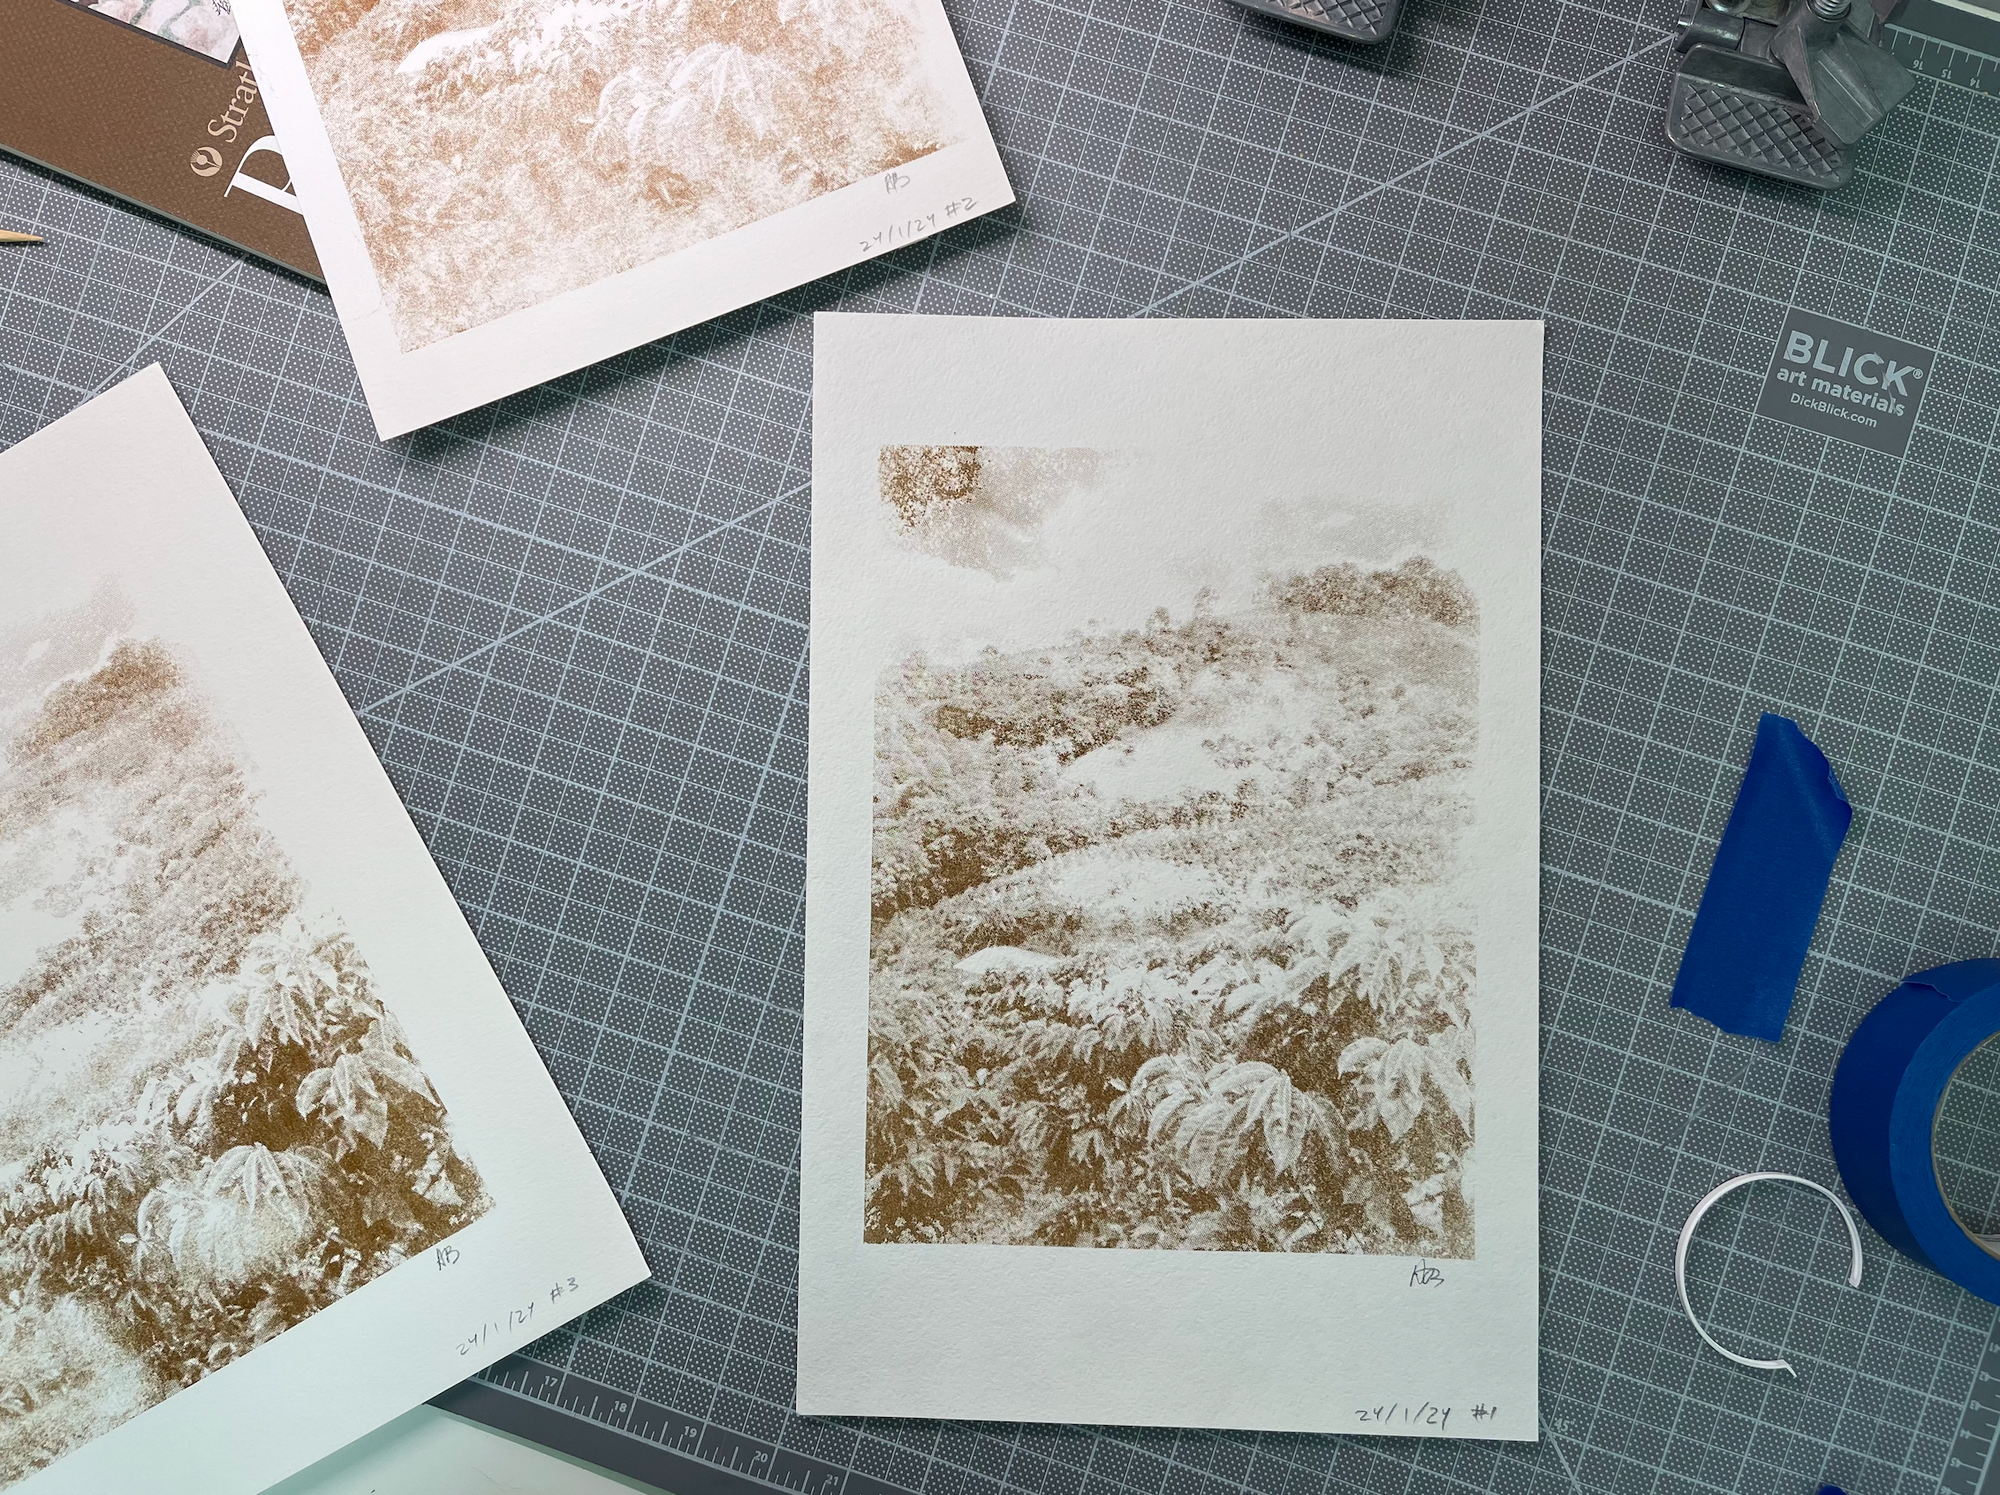
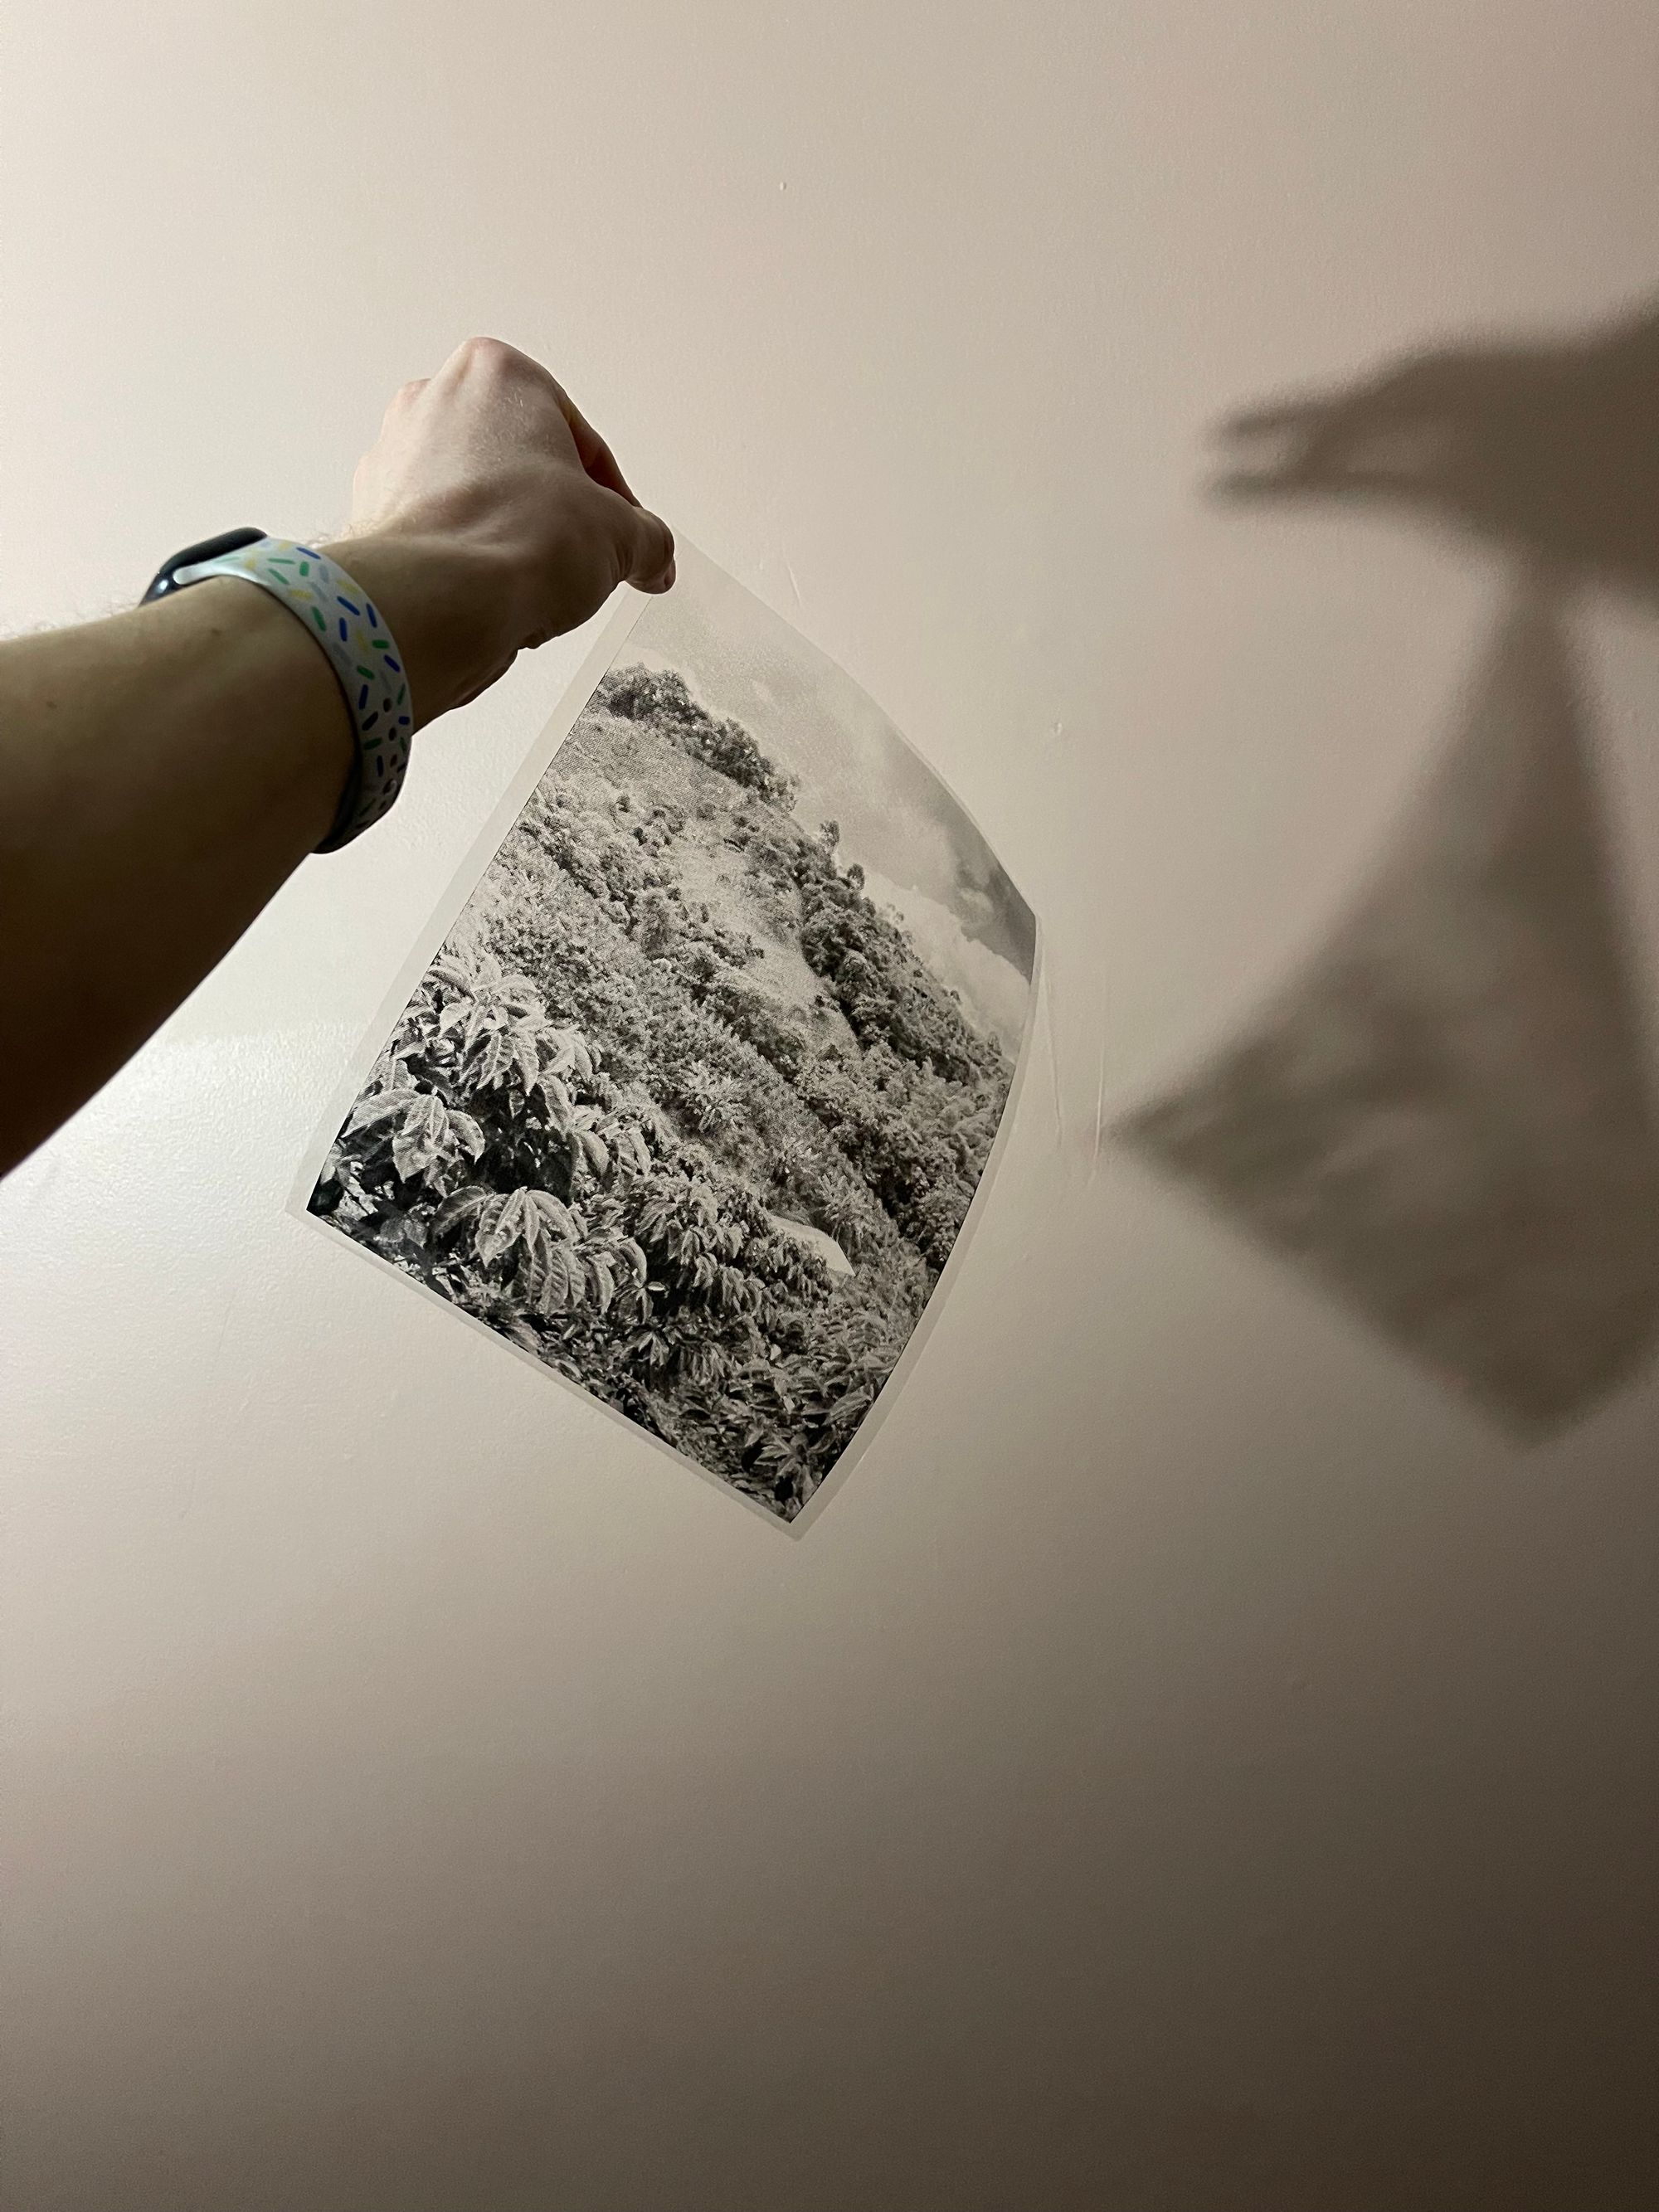
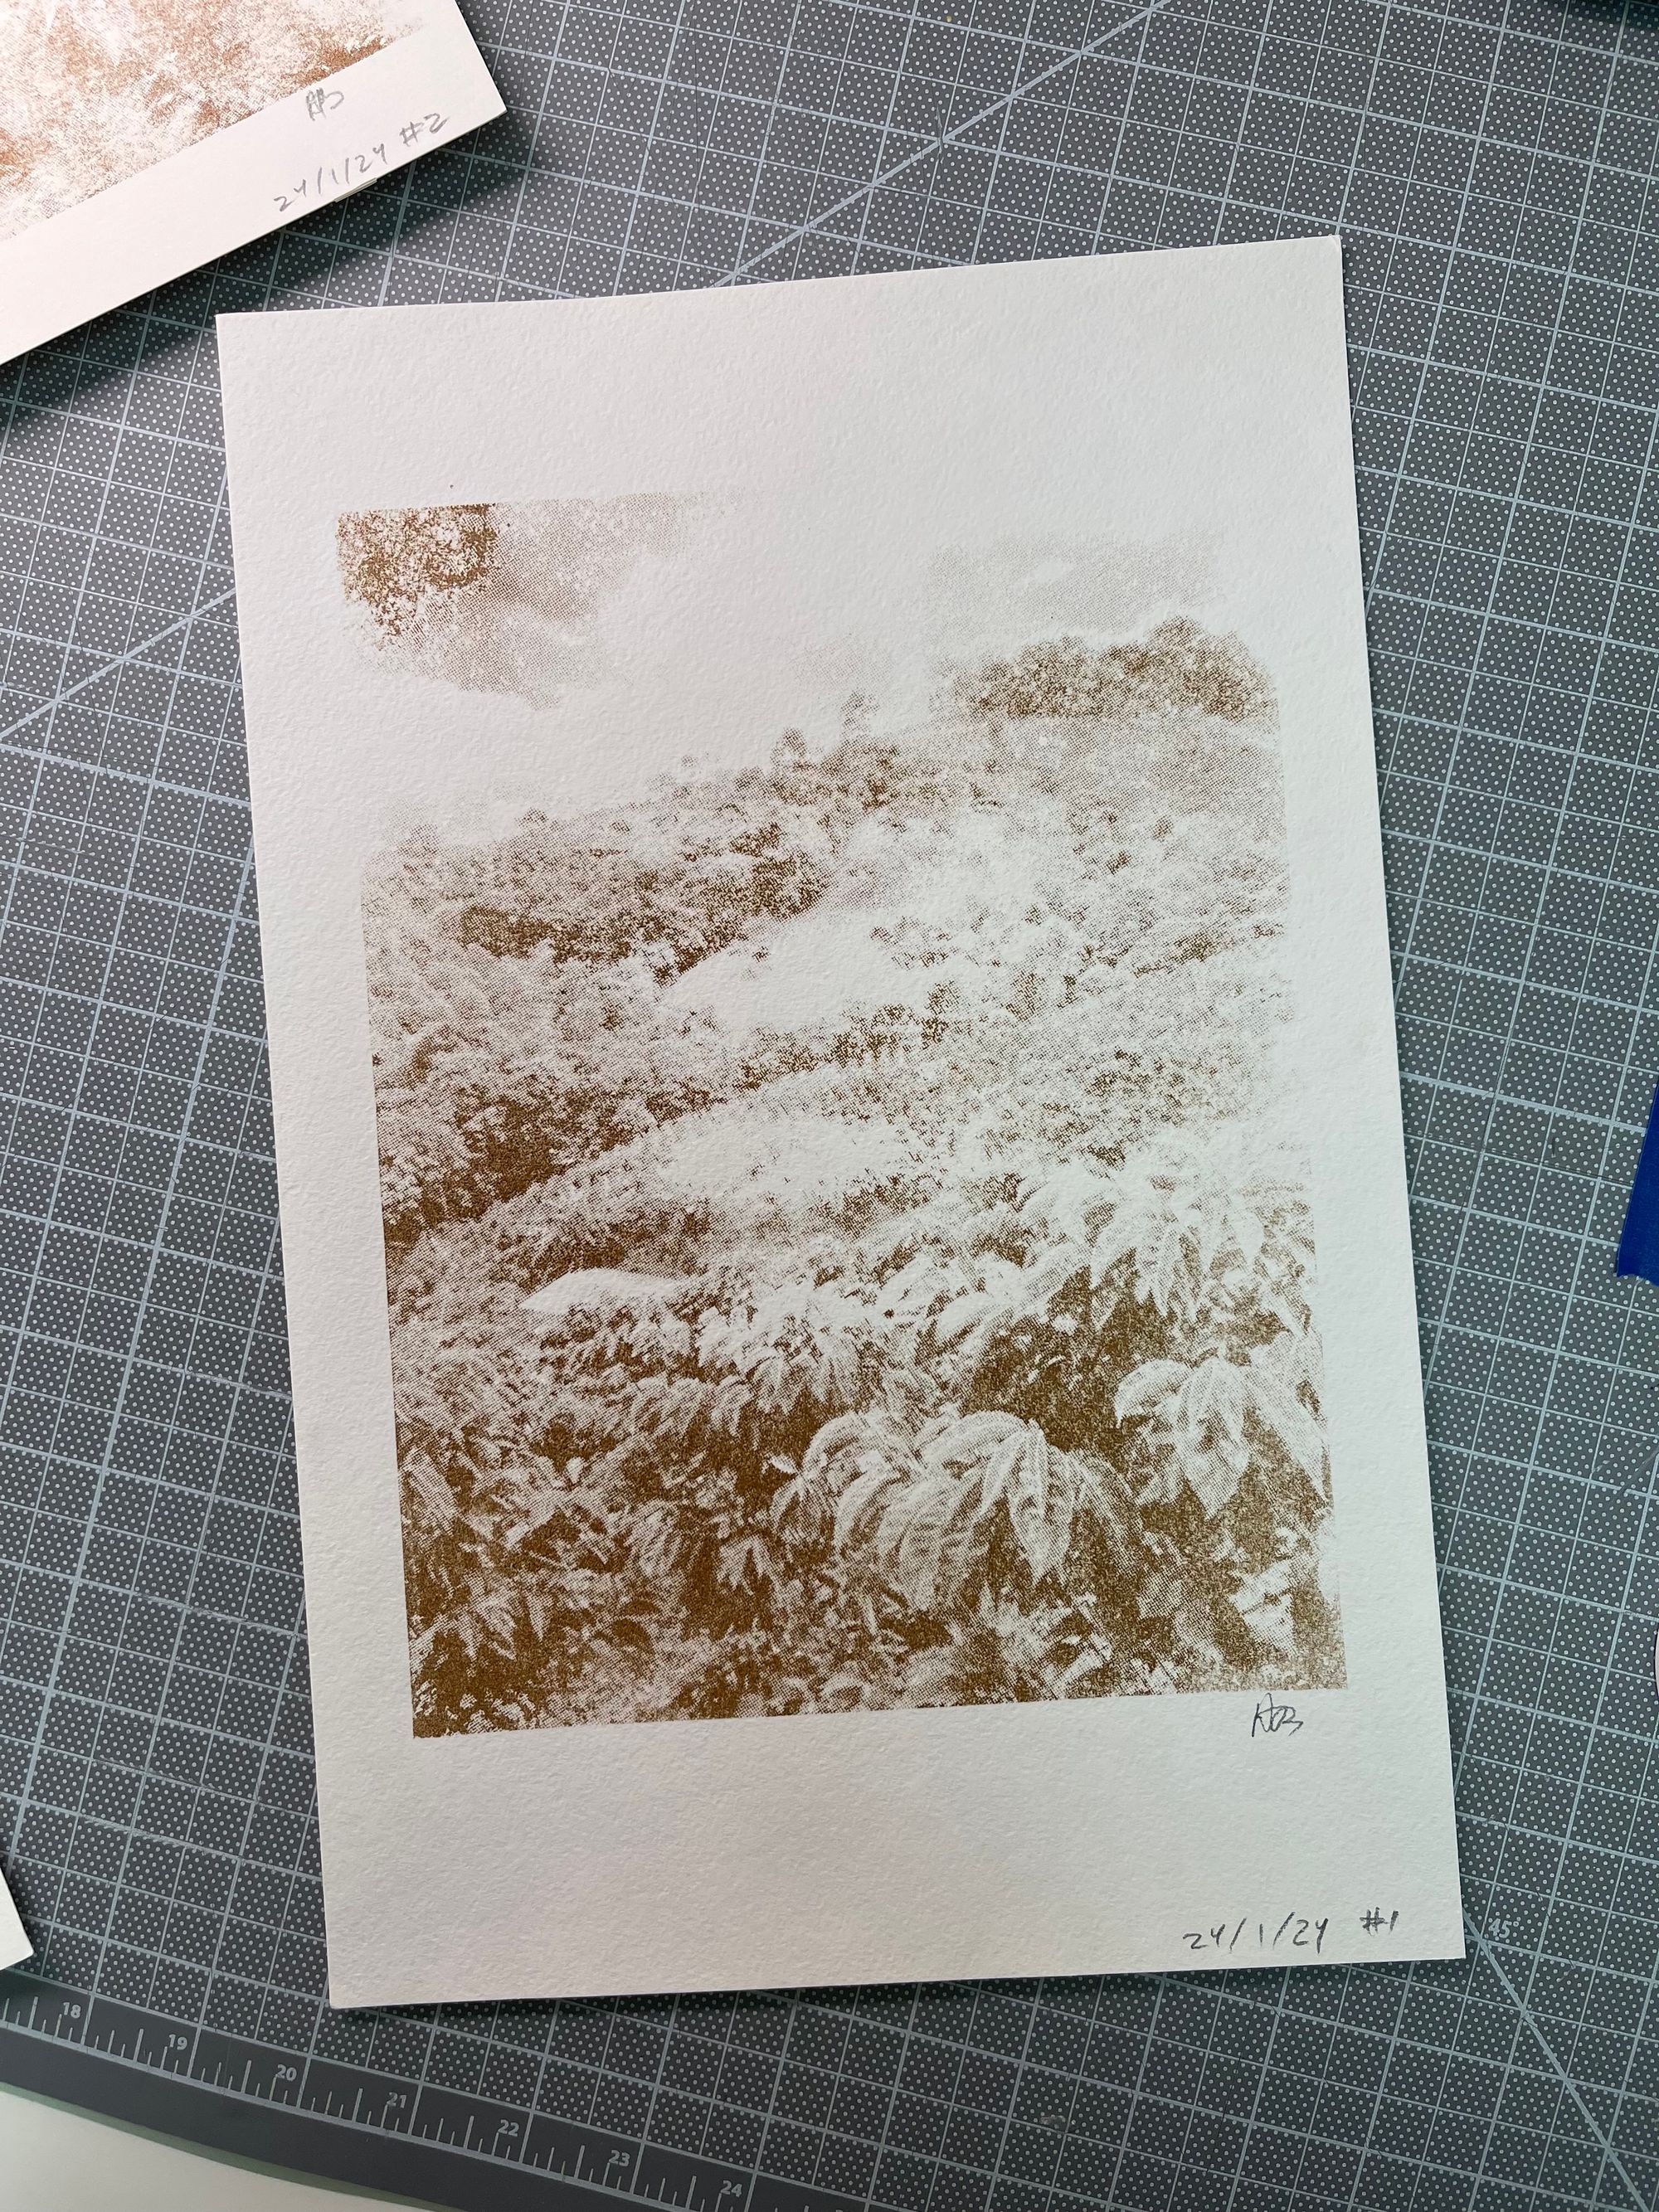
I had been reading up about making inks over the last year, and I wanted to use the coffee “fines” that are left over after sift my coffee grinds (800-1500 μm 😅). With a bit of guar gum as binder, and with the old silk screens out of the cupboard, I printed the photo of Joana and Armel’s farm with the beans that were harvested there.
Ink making
Inspired by Jason Logan's book, I have been wanting to make ink. I specifically wanted to make ink with coffee, in part because of the coffee waste from sifting the grinds, but I thought it was conceptually interesting to print photos of the place where the beans are grown and harvested with the beans themselves to highlight the link between the coffee and where it is sourced.
I'm still experimenting with recipes, but I would generally gather about a cup of fine grinds and leave them to soak in a litre jar in the fridge. After a few months, I would boil the coffee down for half-an-hour or so to get it down to almost a caramel-like thickness. I'm not sure if the time in the fridge helps, but it's just how often I end up making ink. I run the boiled down liquid through an old paper filter to get all the grinds out. At this point, the liquid will still be very runny, so I add a dash of guar gum to thicken it up. I add the guar gum right before printing, so that I get better control on how thick it gets (it seems to get thicker and thicker with time).
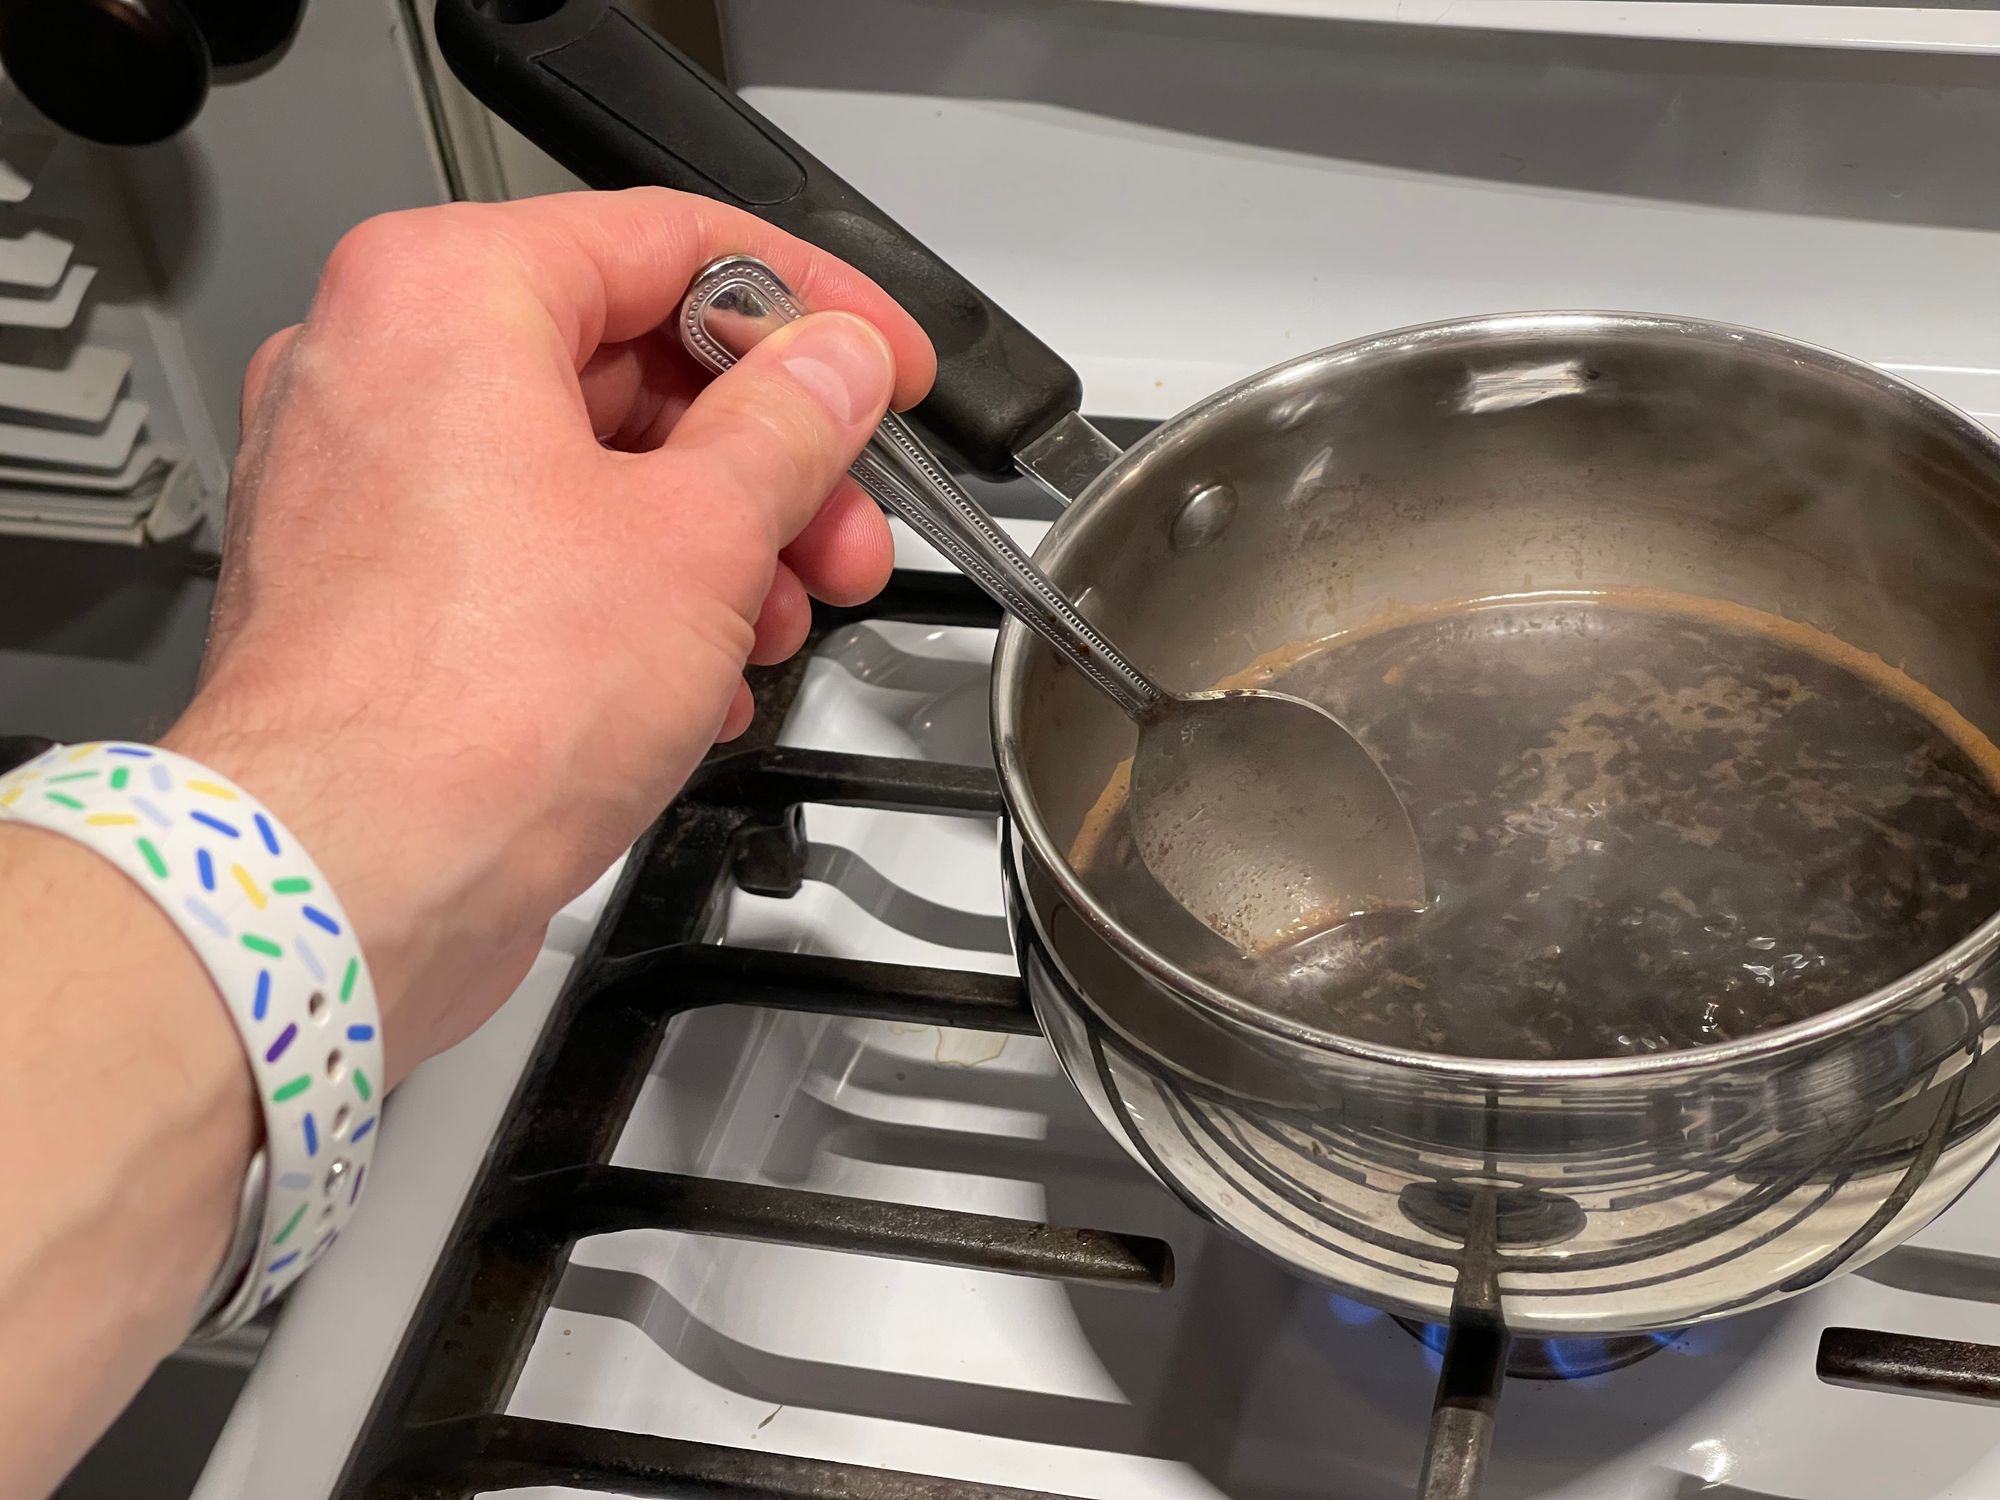
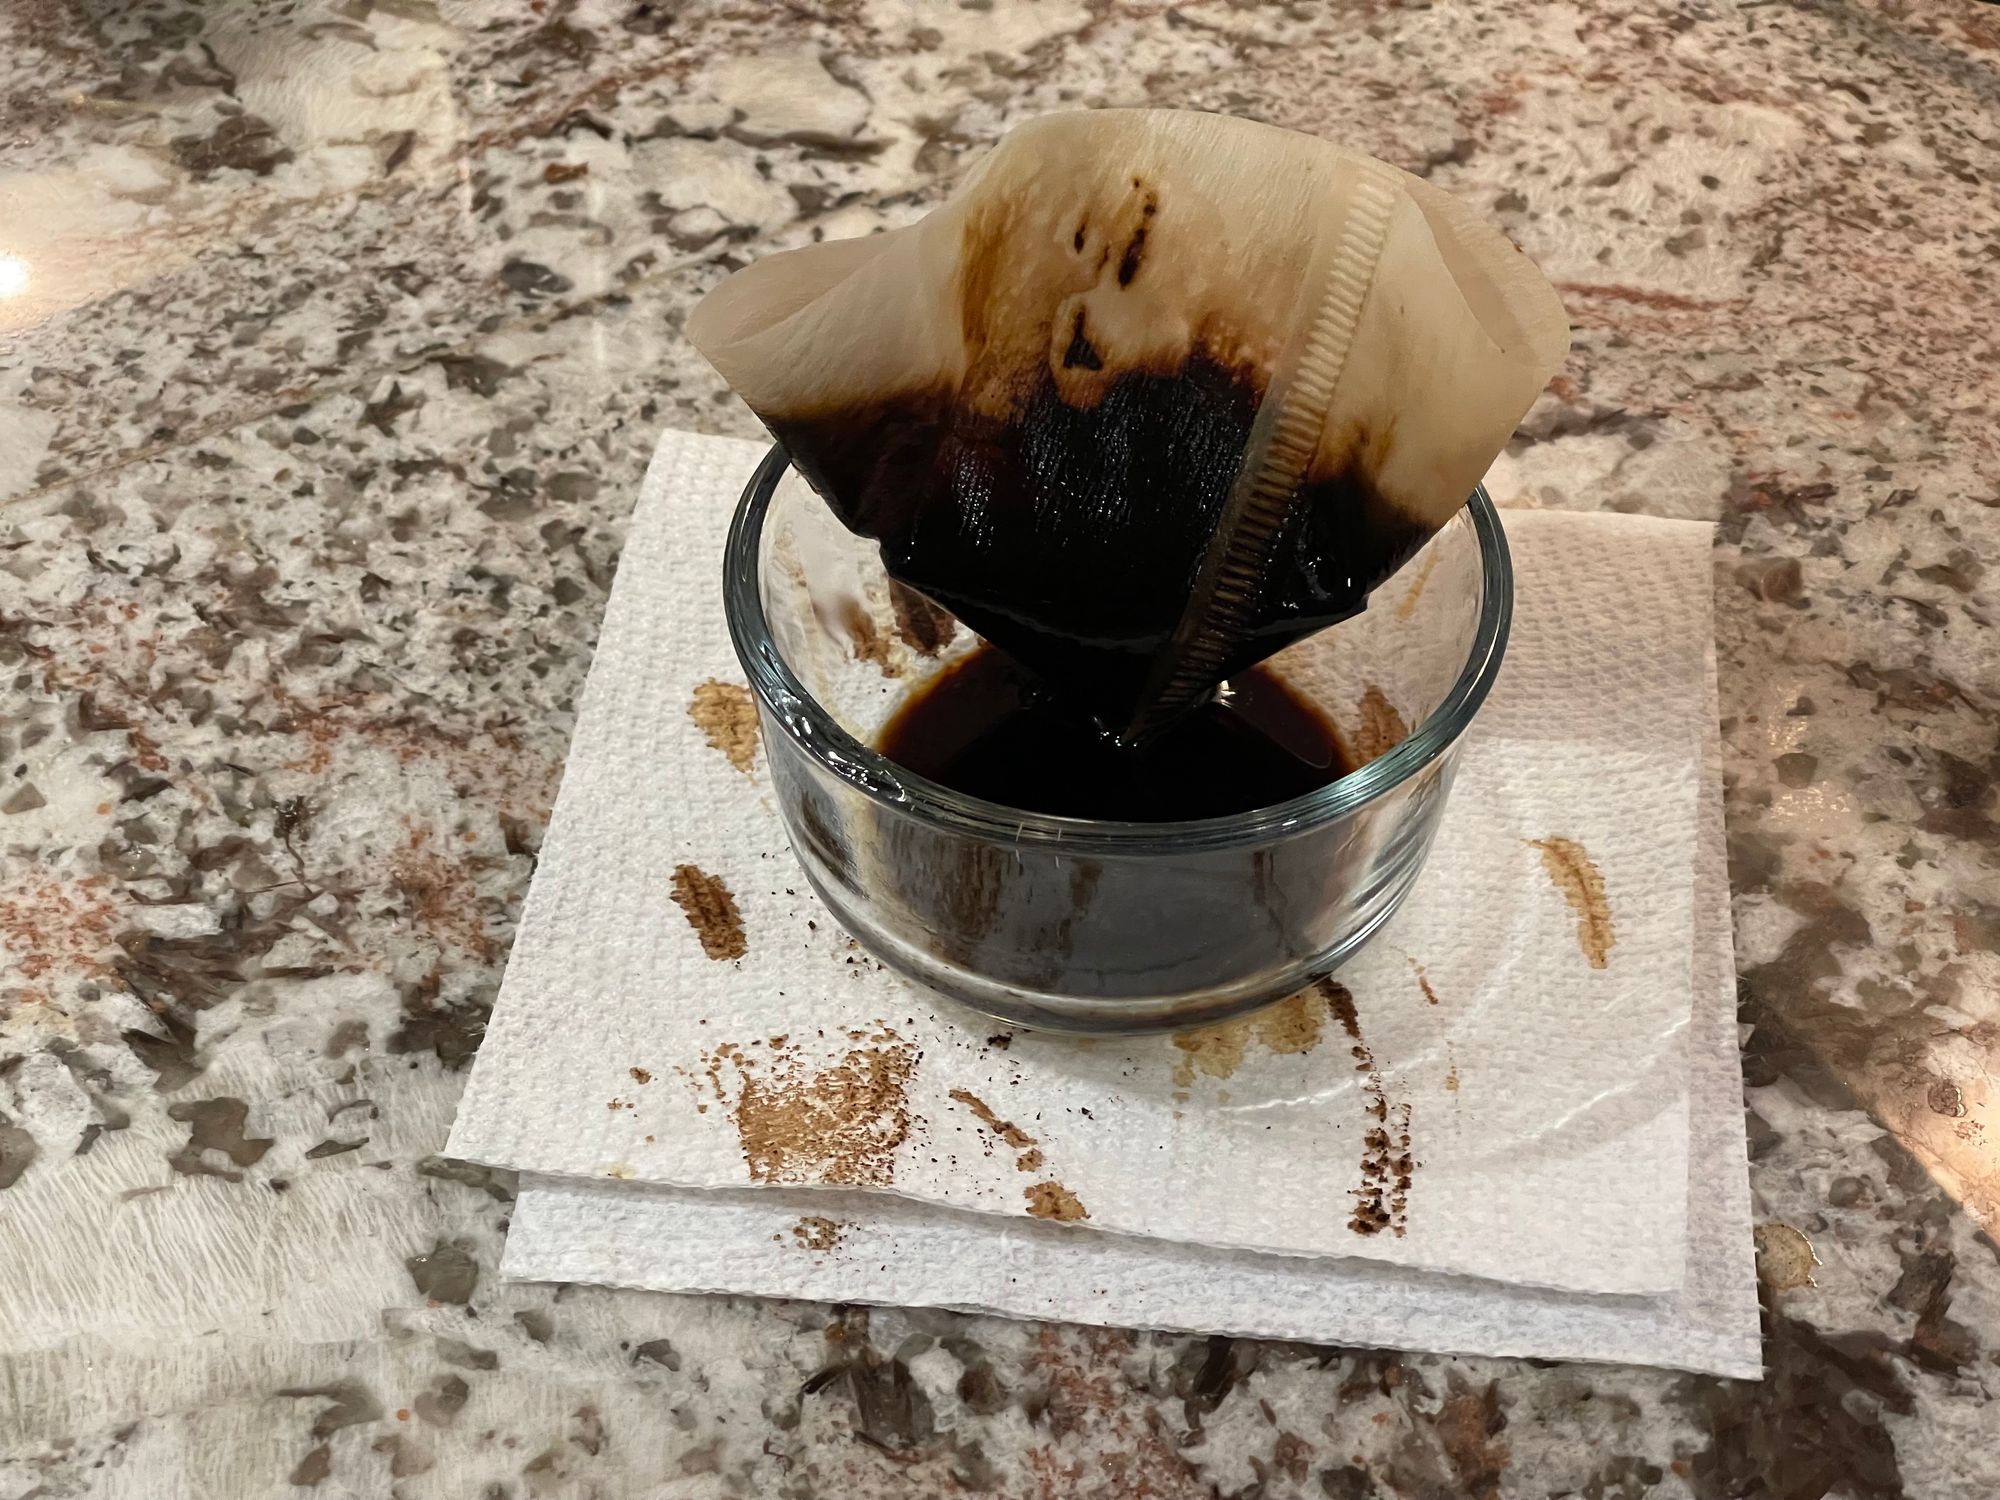
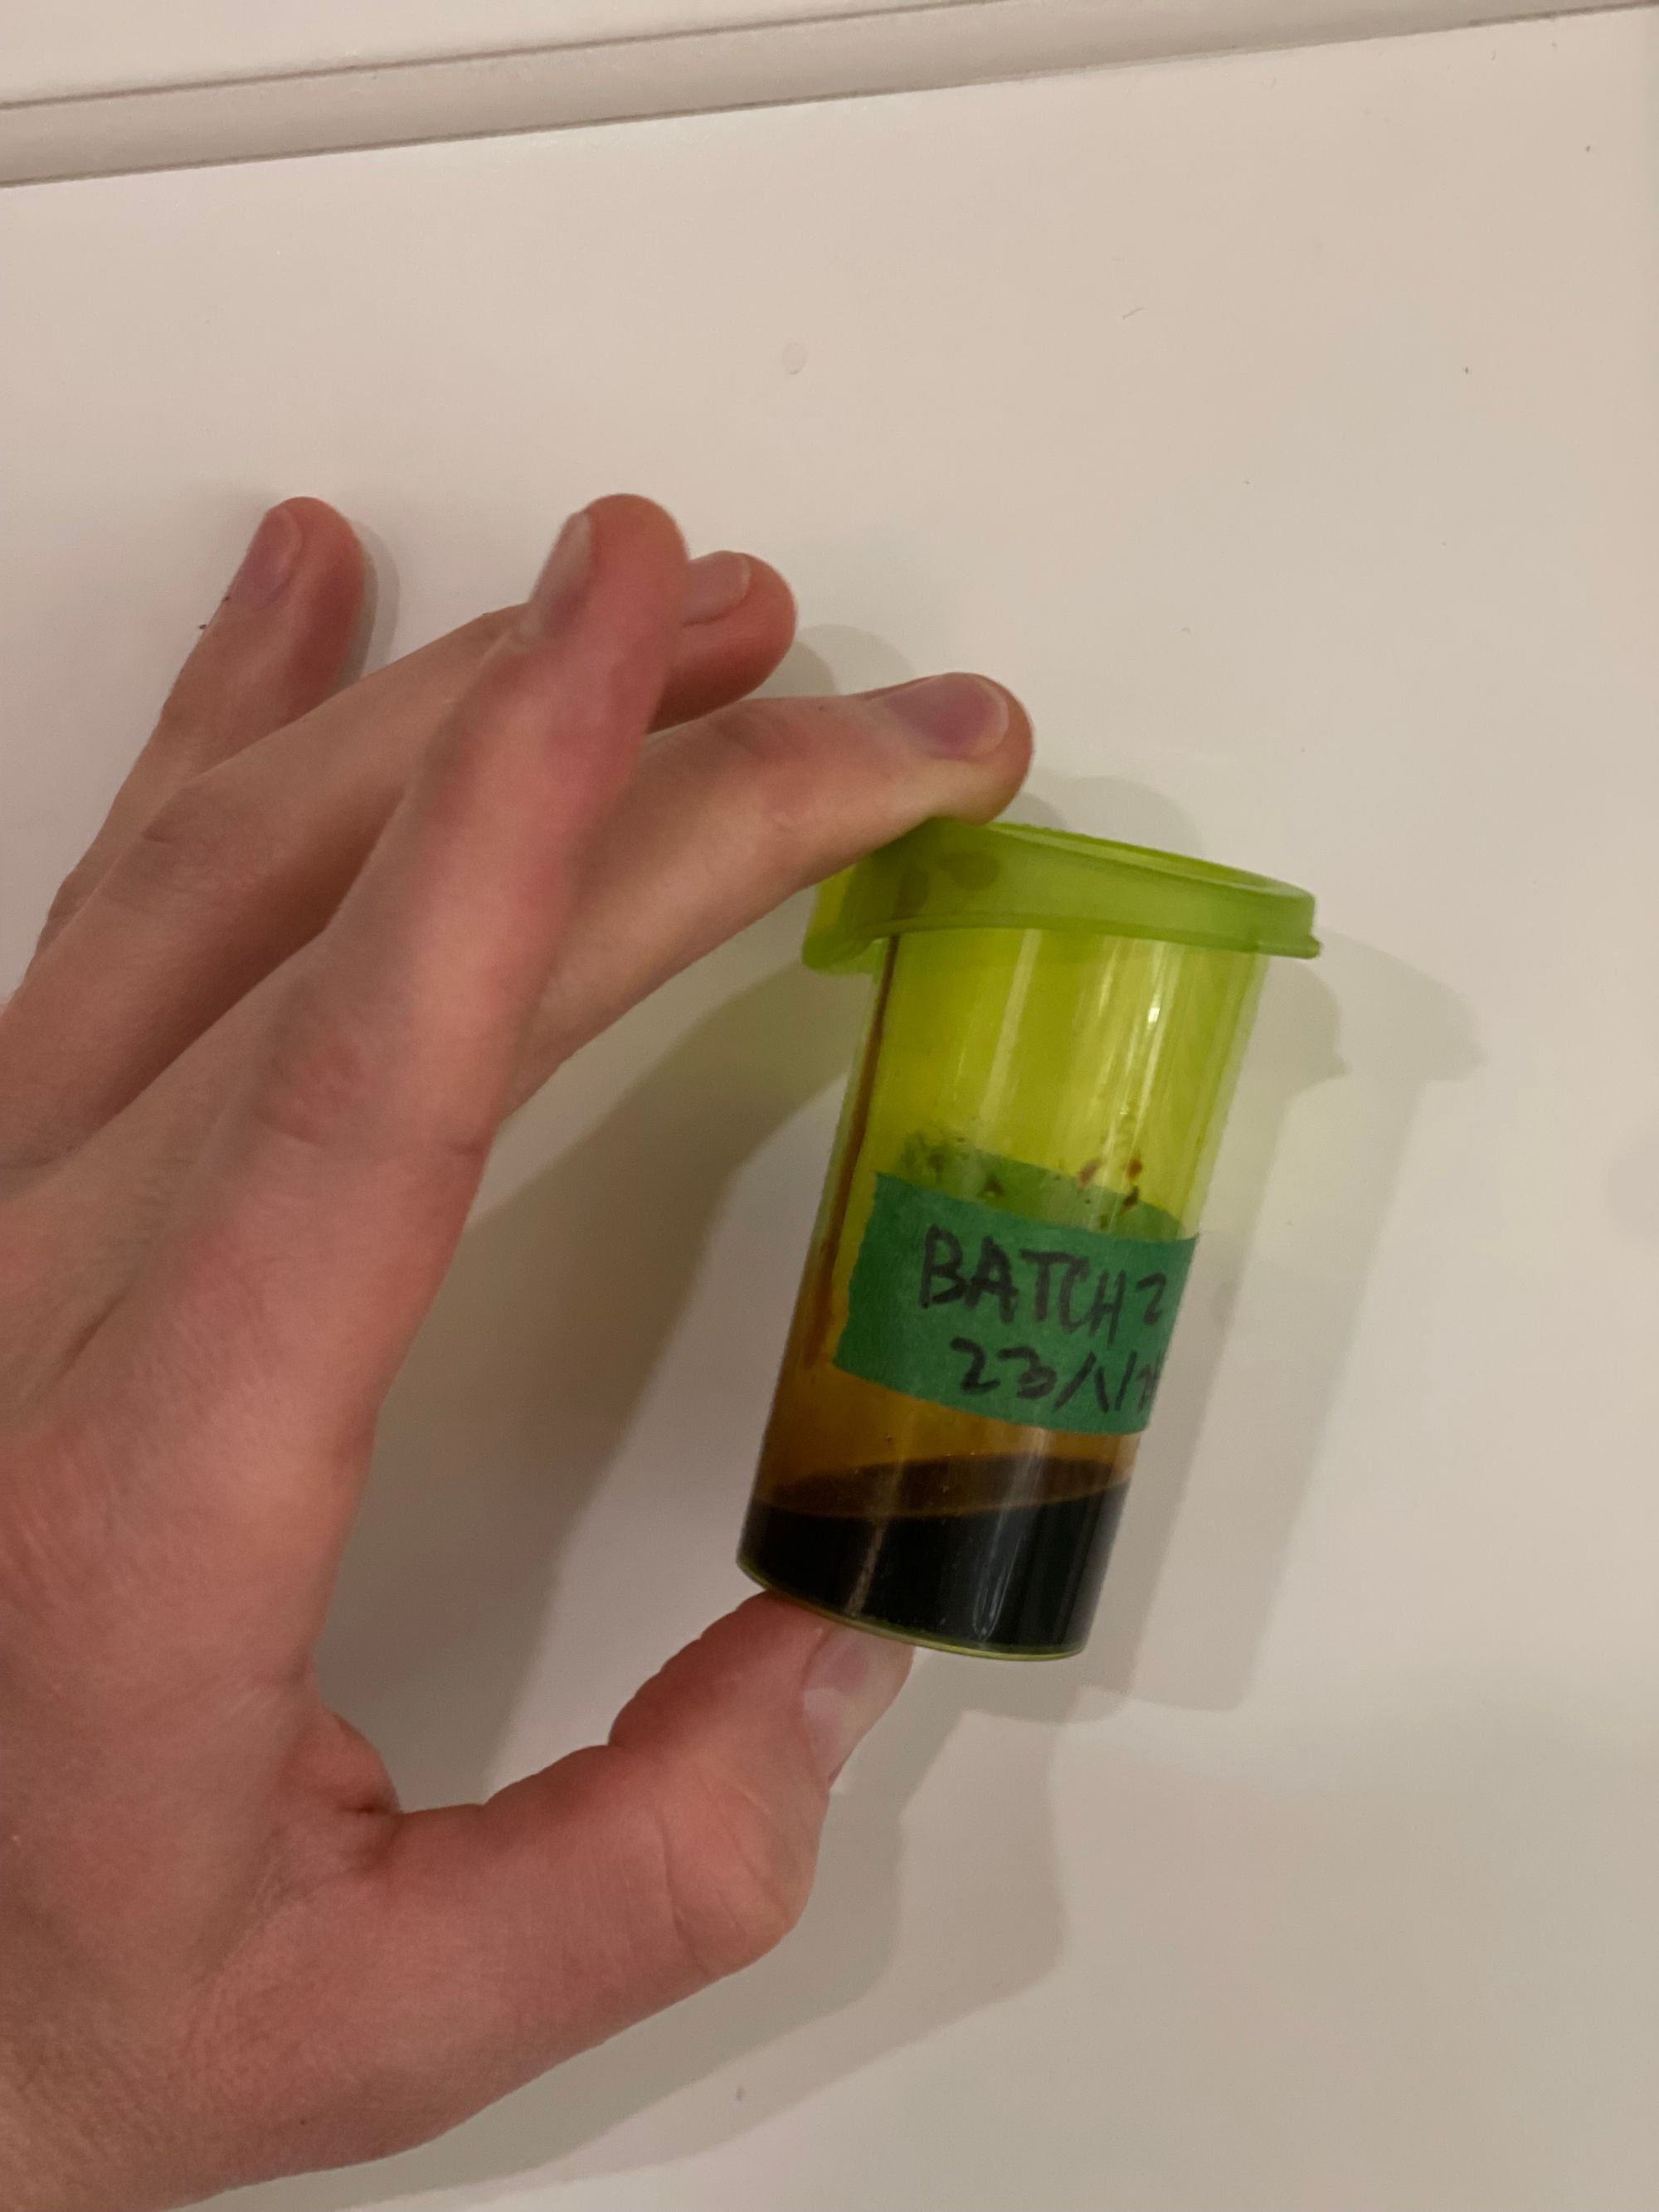
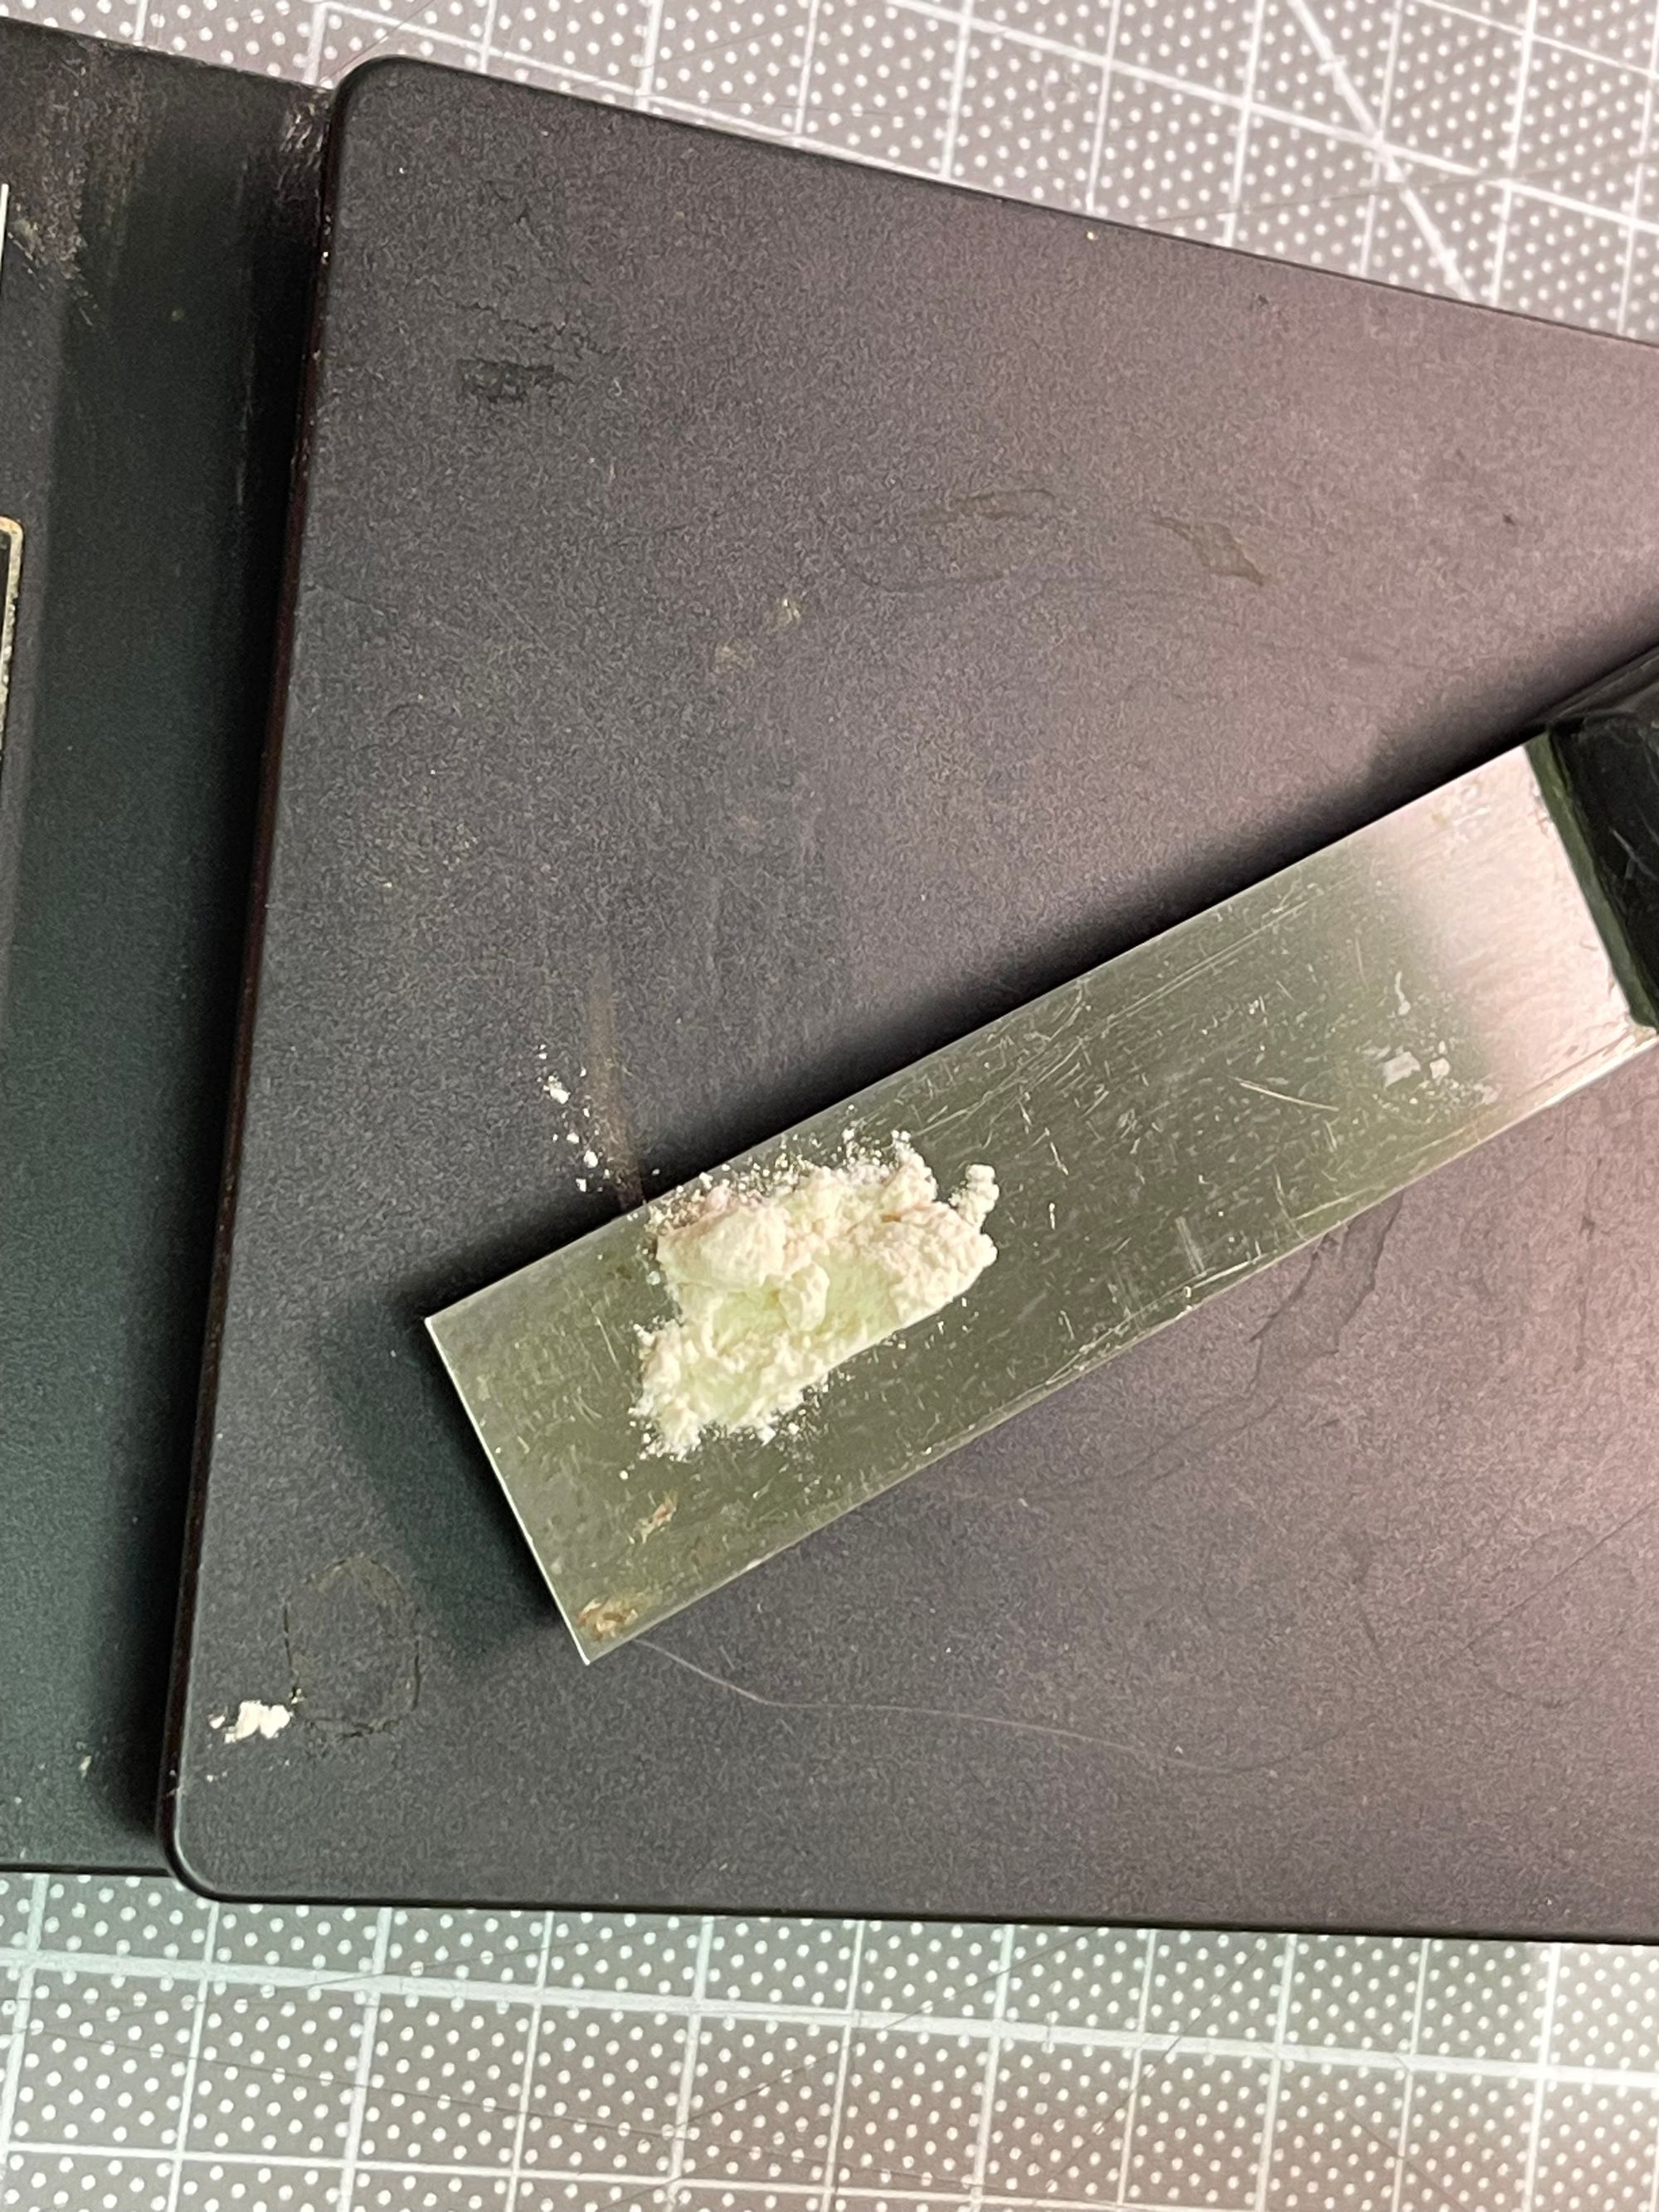
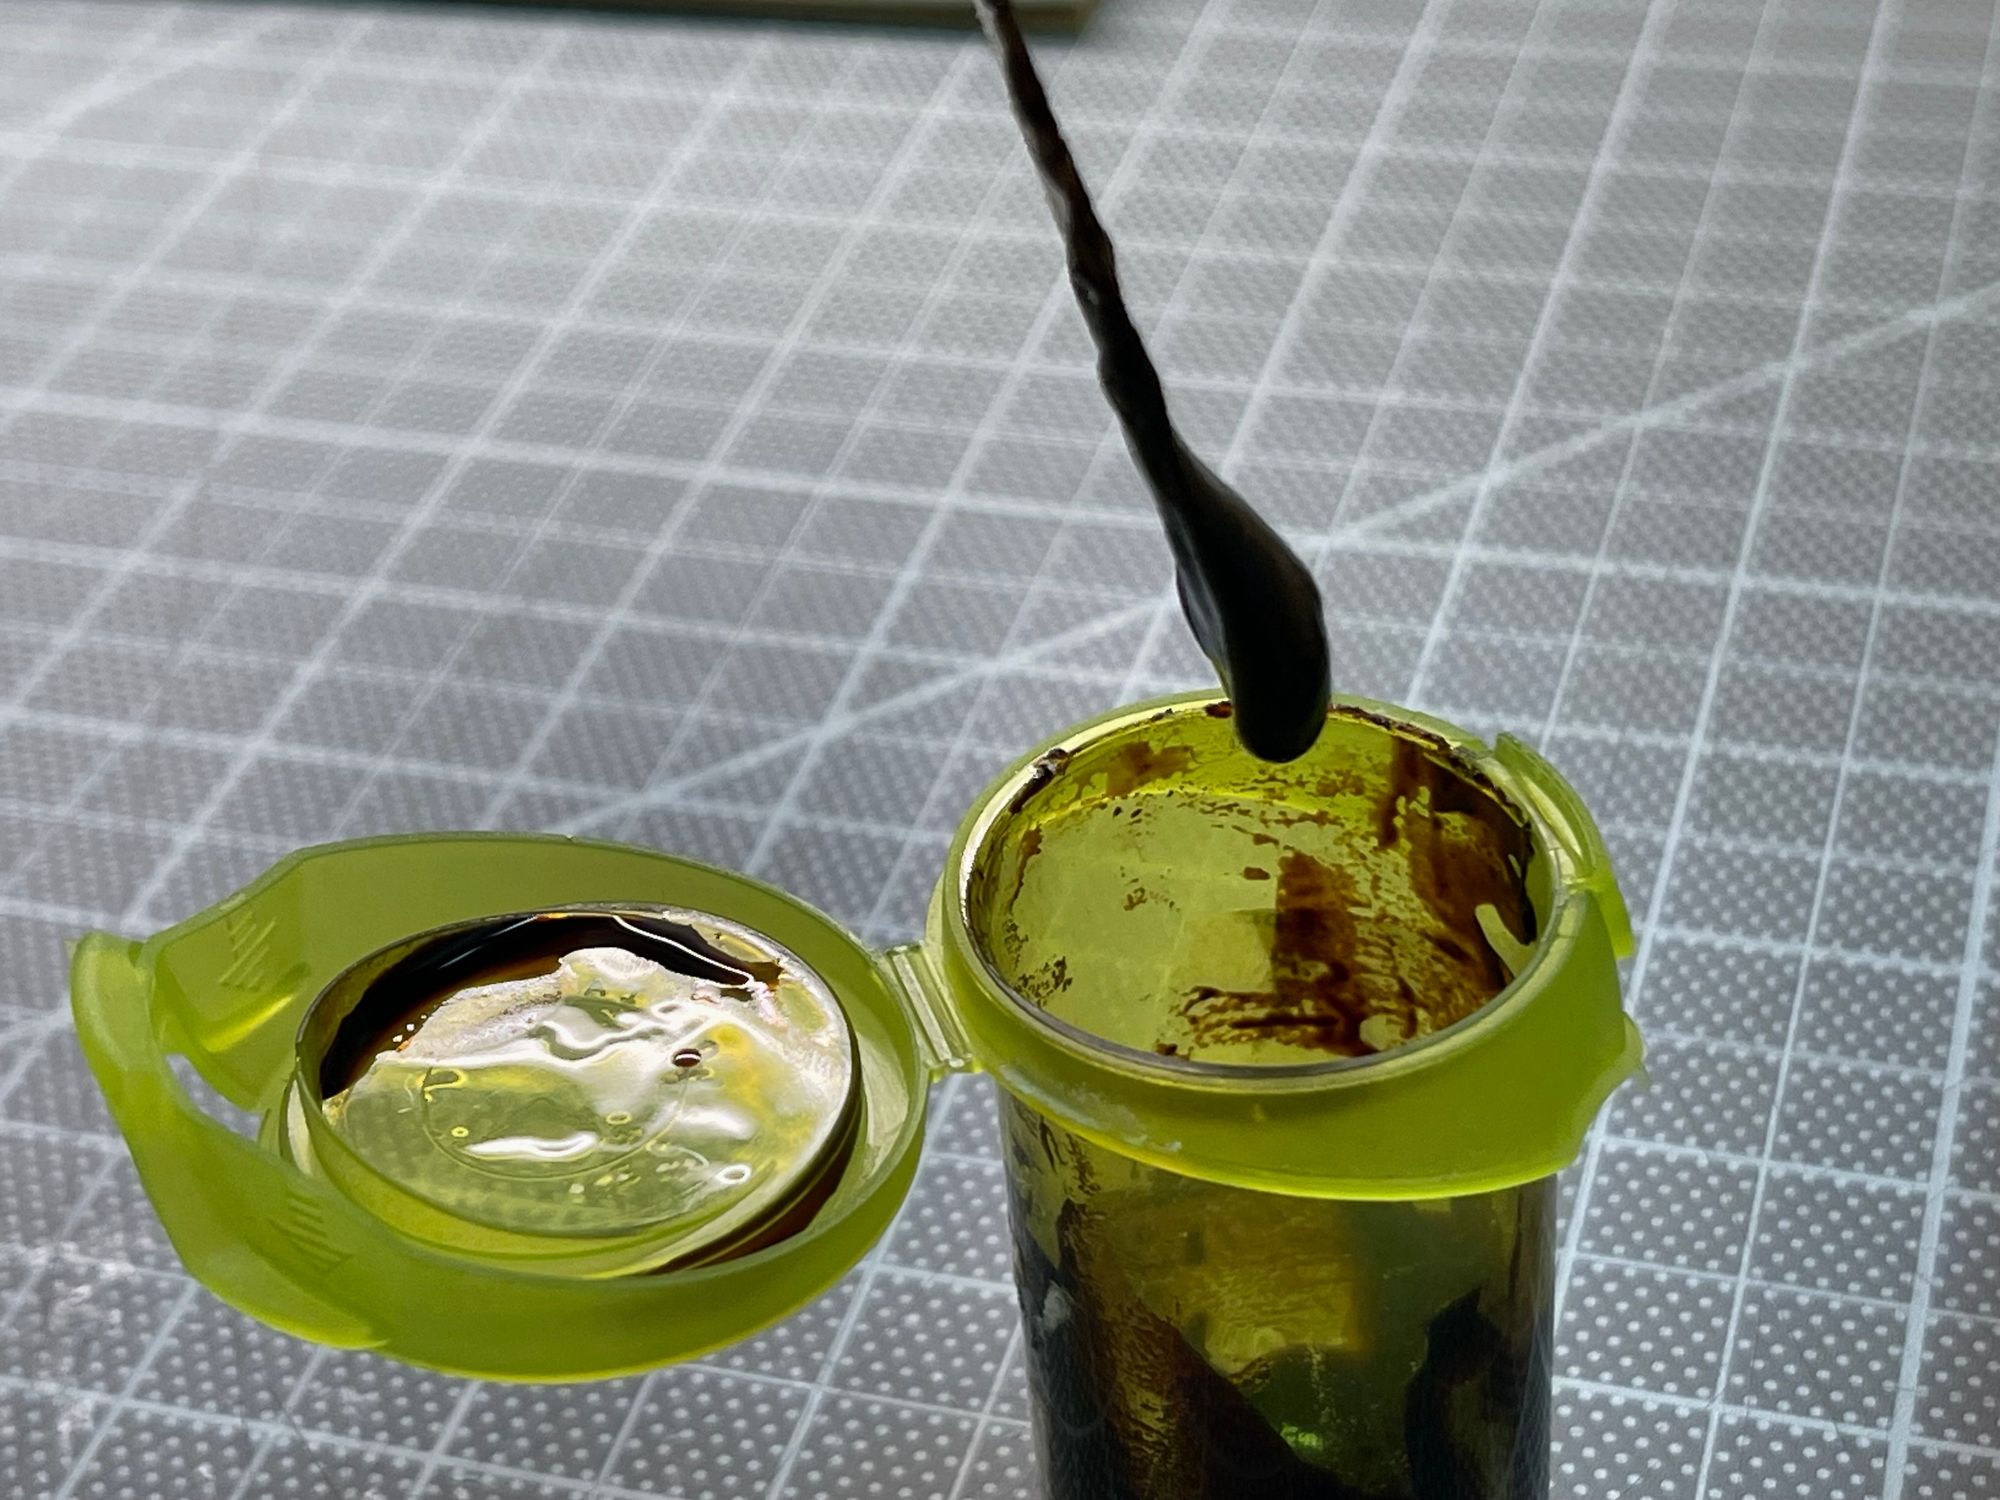
Boil, filter, store, and thicken.
Mesh and half-tone prep
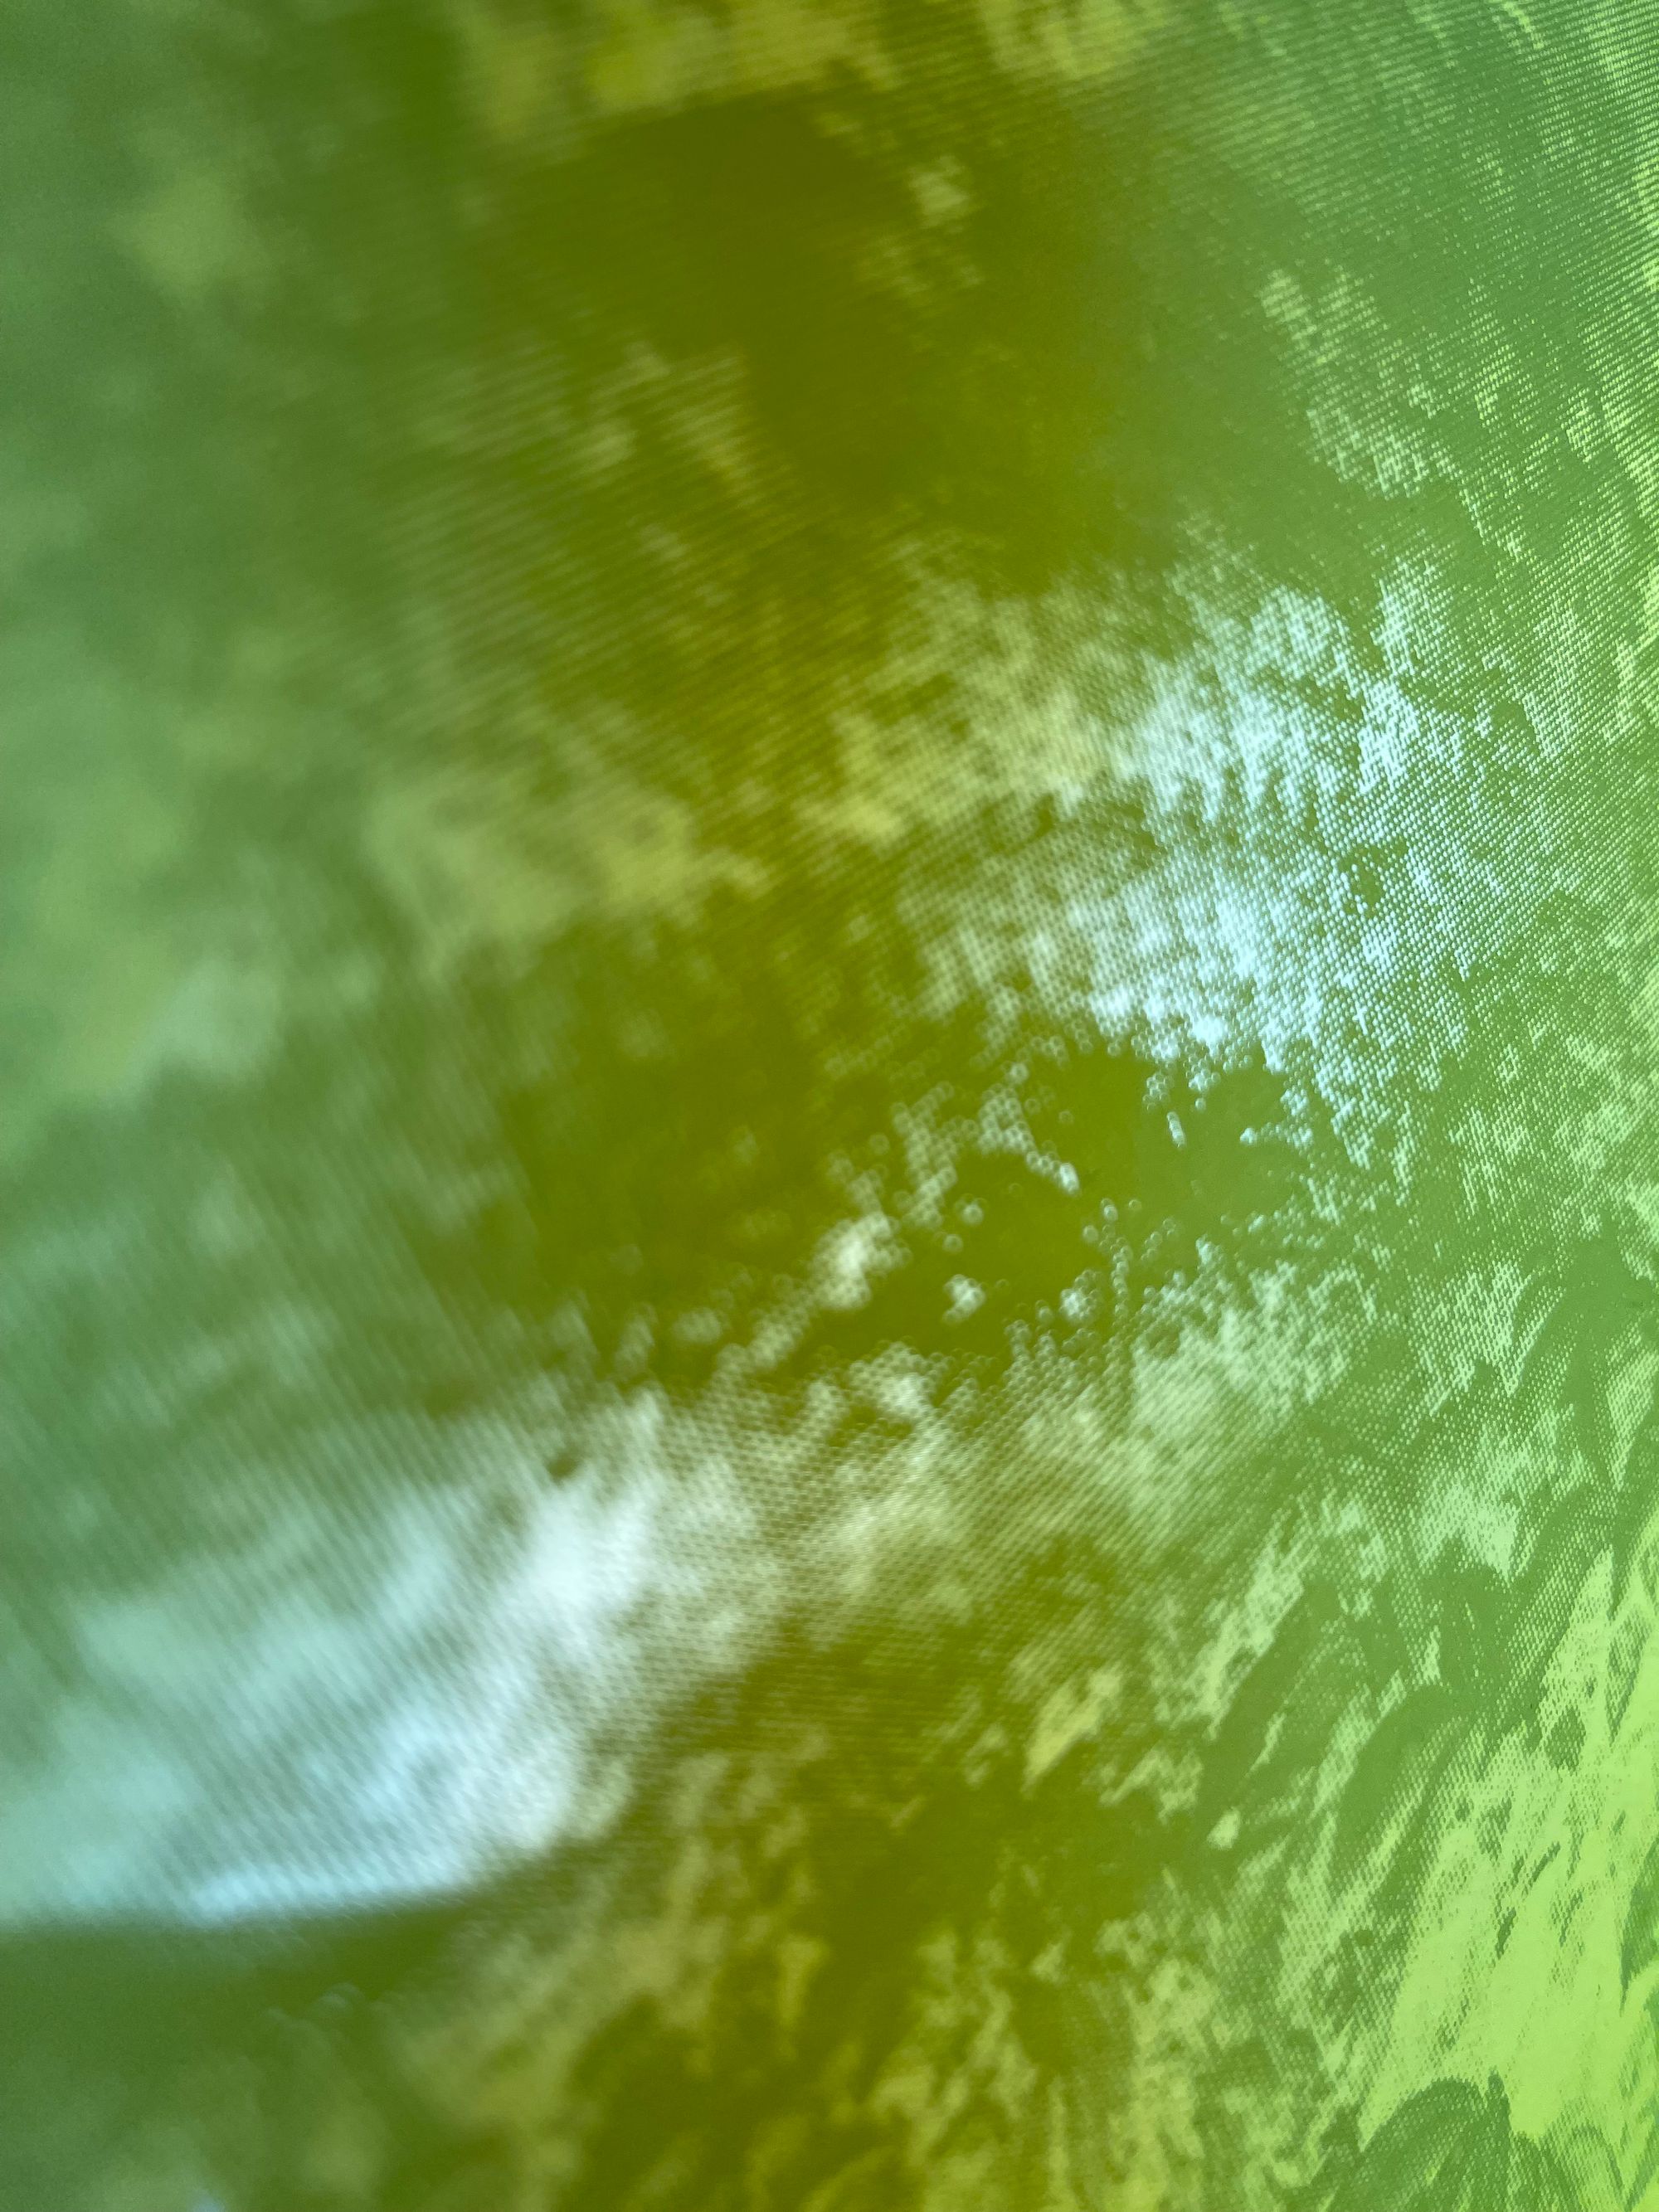
This is one of the smallest half-tone patterns I have tried. Half-tone is the dot pattern that is used in different printing techniques to get gradients and colour fades (example below). I use Affinity Photo to create the pattern.
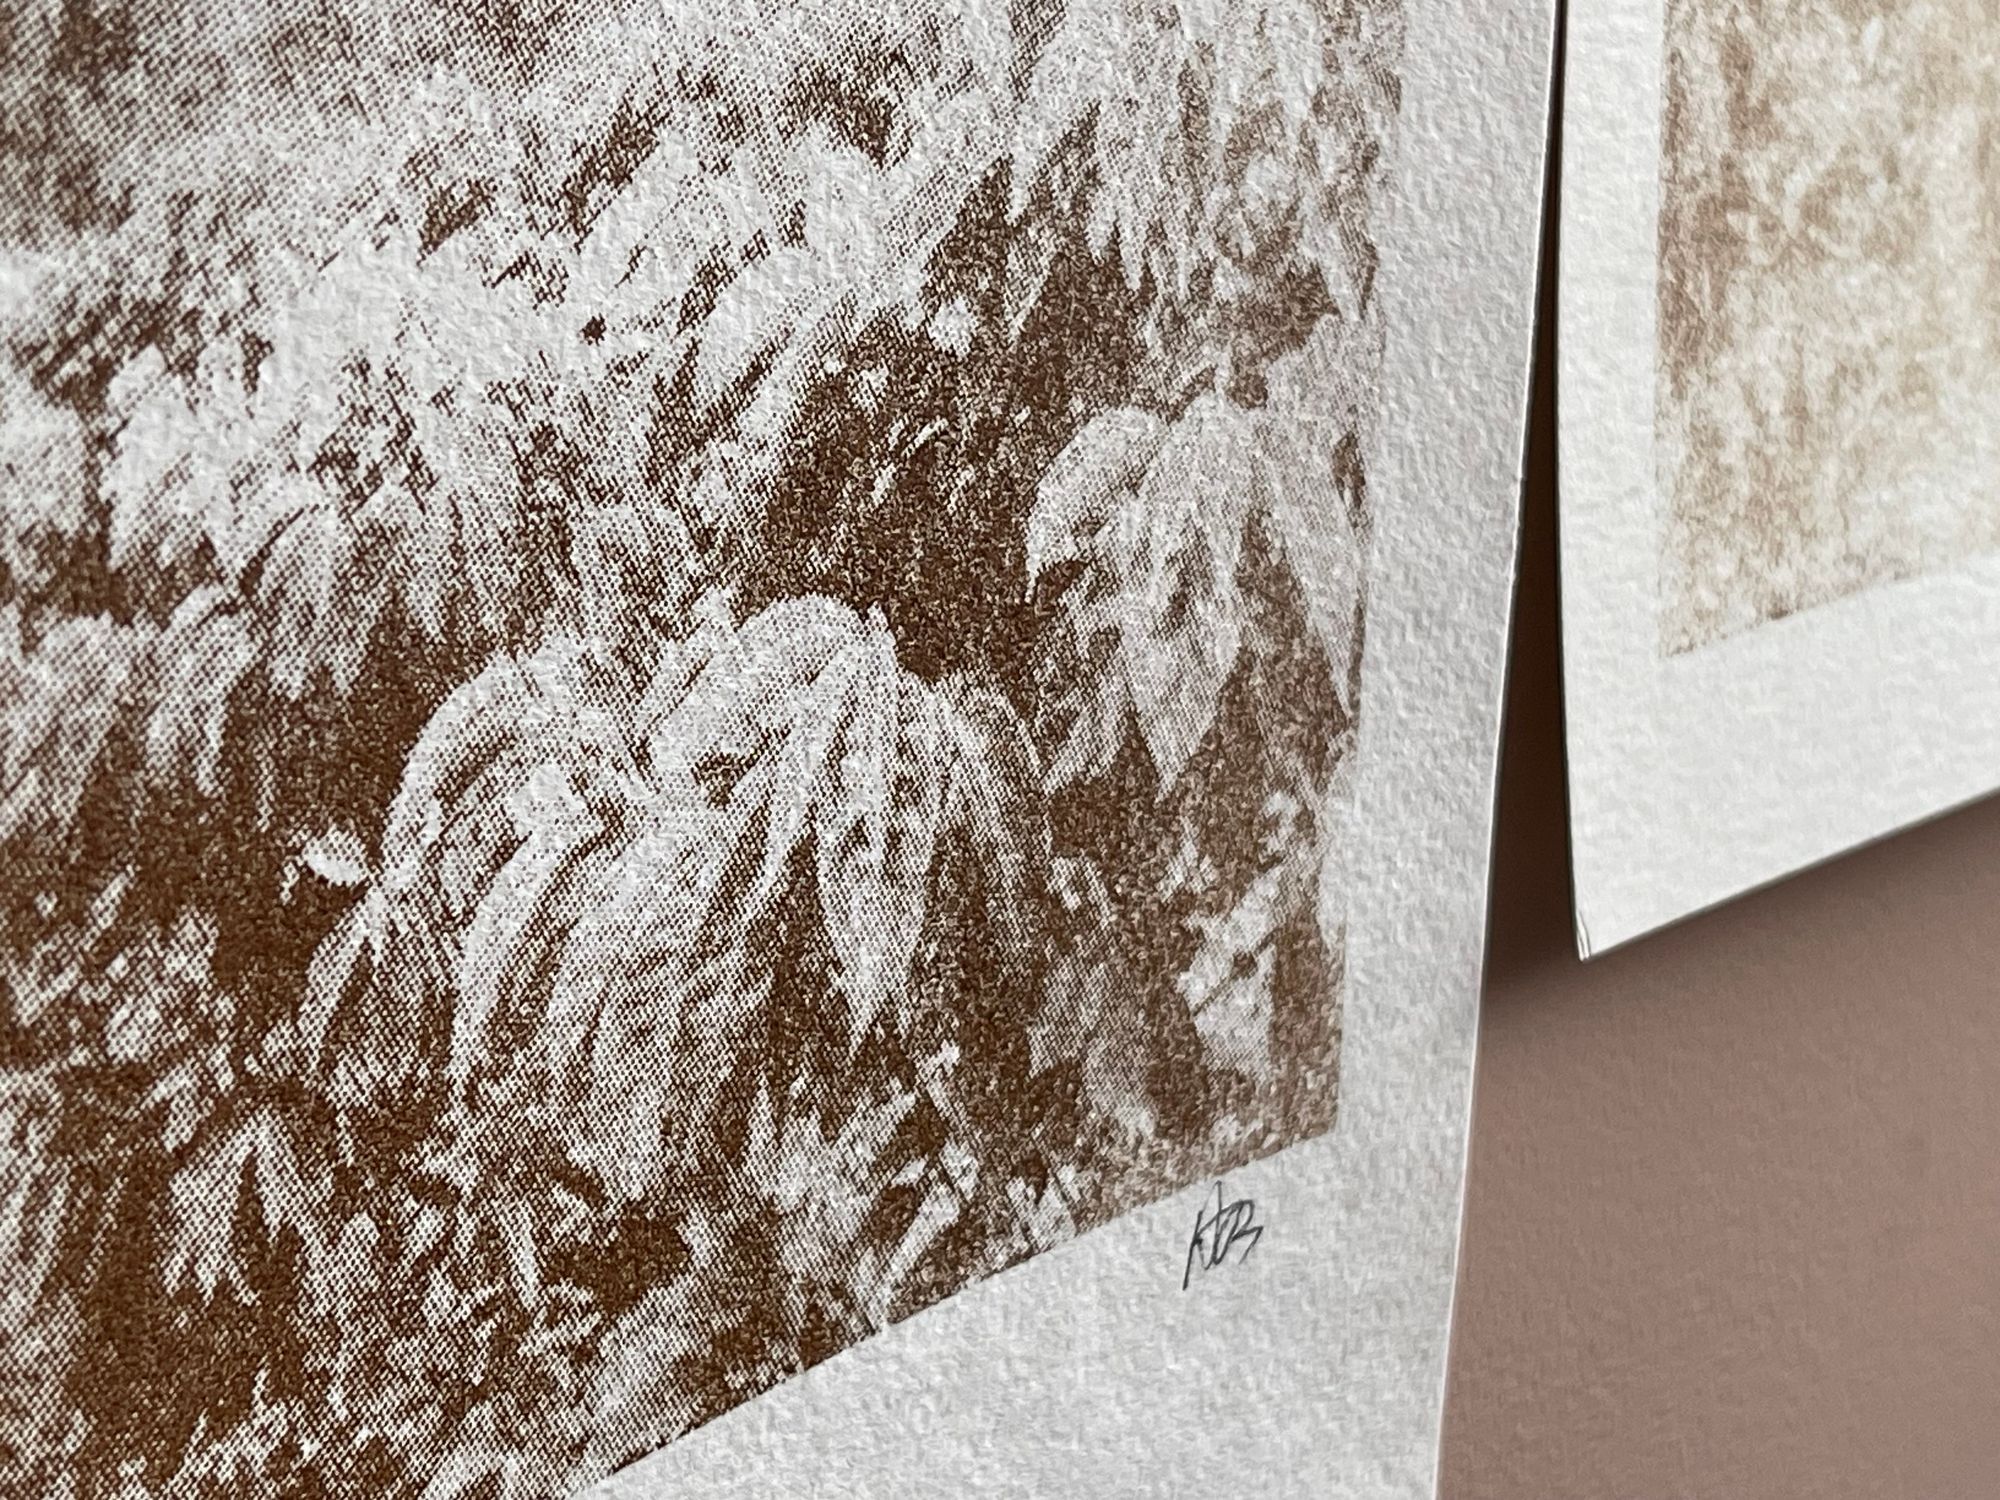
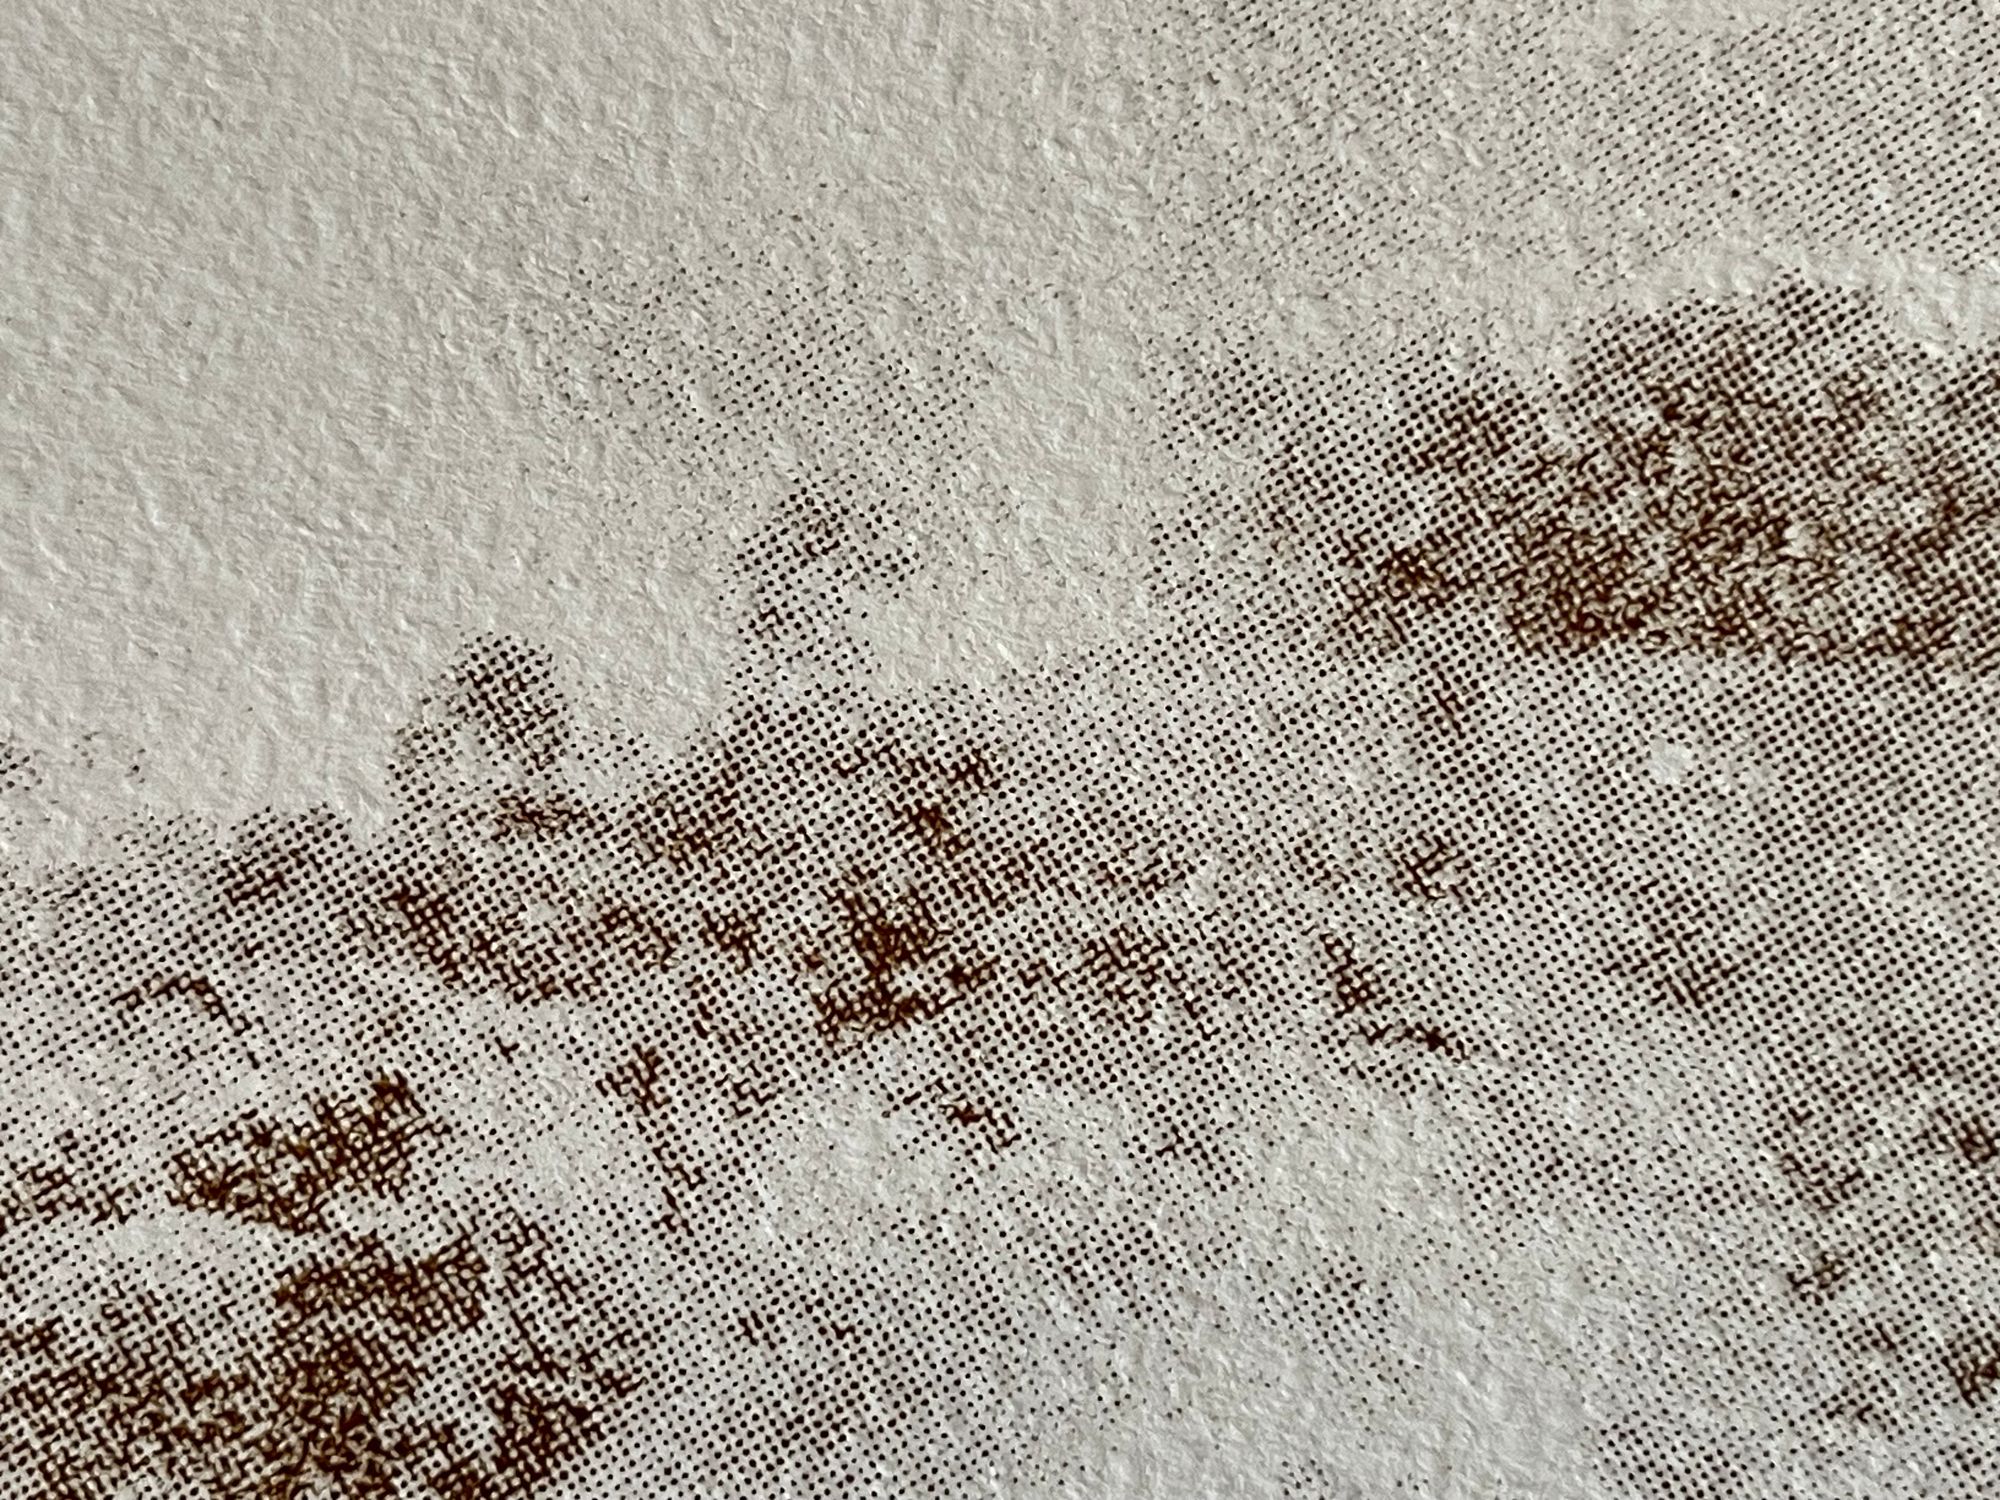
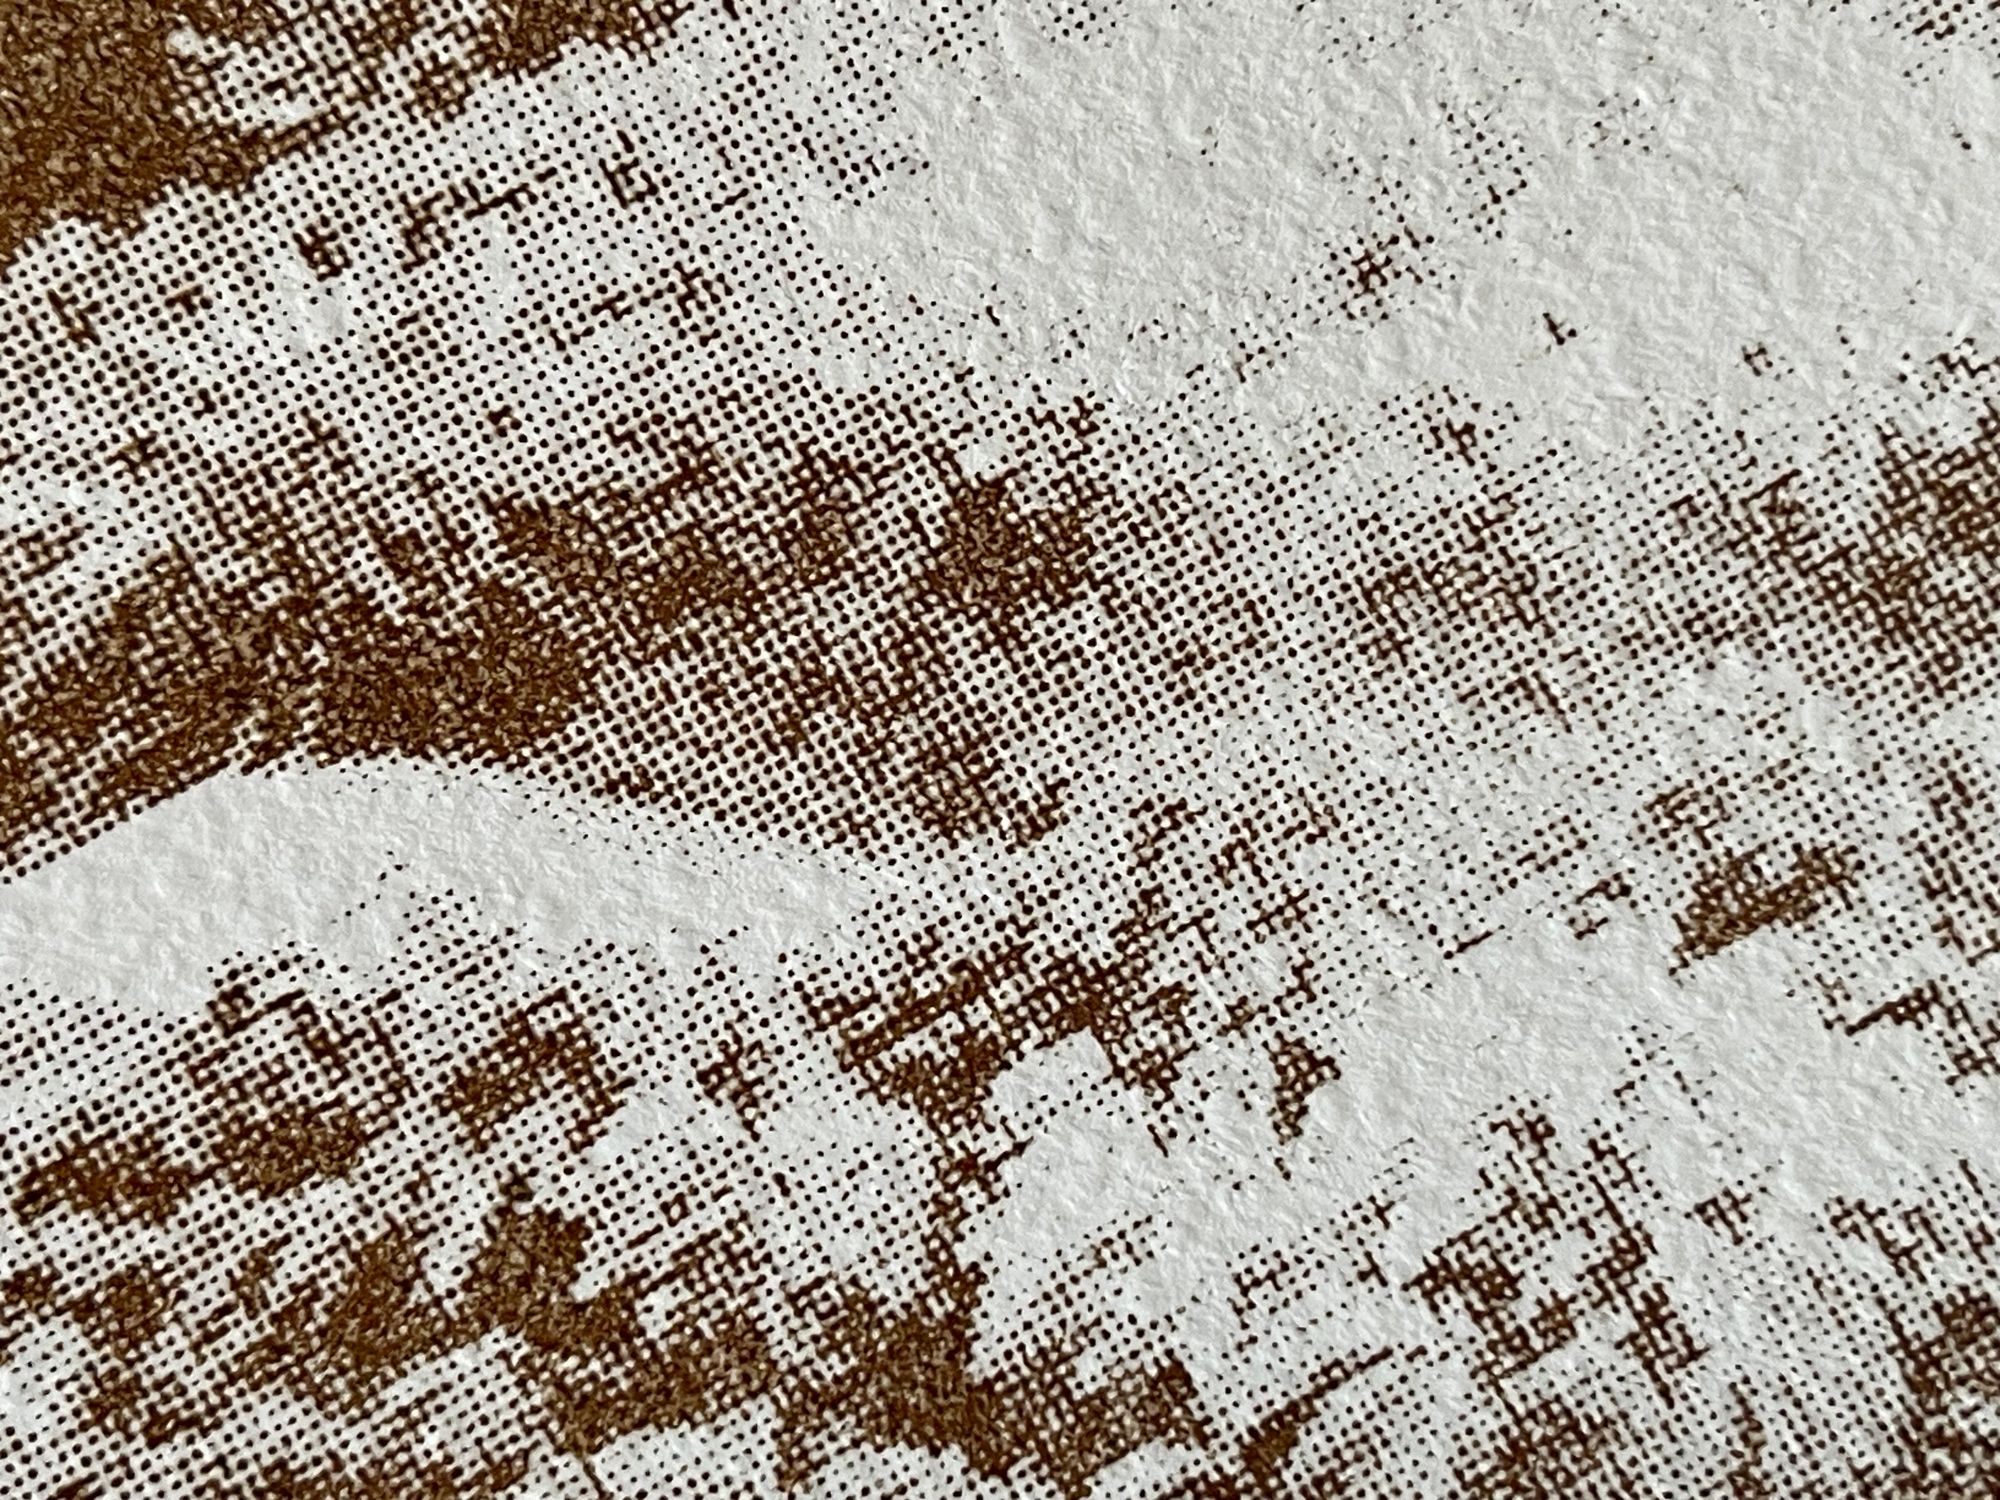
Half-tone pattern close-ups
The half-tone pattern is dependent on the density silk screen mesh. In my case I had two meshes, but I didn't know what the thread count was. I used a microscope my brother and I used in our childhood to measure it. The denser mesh is about a 225 threads per inch, doing a bit of research I found that people recommend approximately a 4.5 ratio, which translates to 6 pixel-wide dots for a 300 DPI (dots per inch) photo. I printed the negative on acetate and exposed the screen with a halogen work lamp (16" distance, 7 minutes).
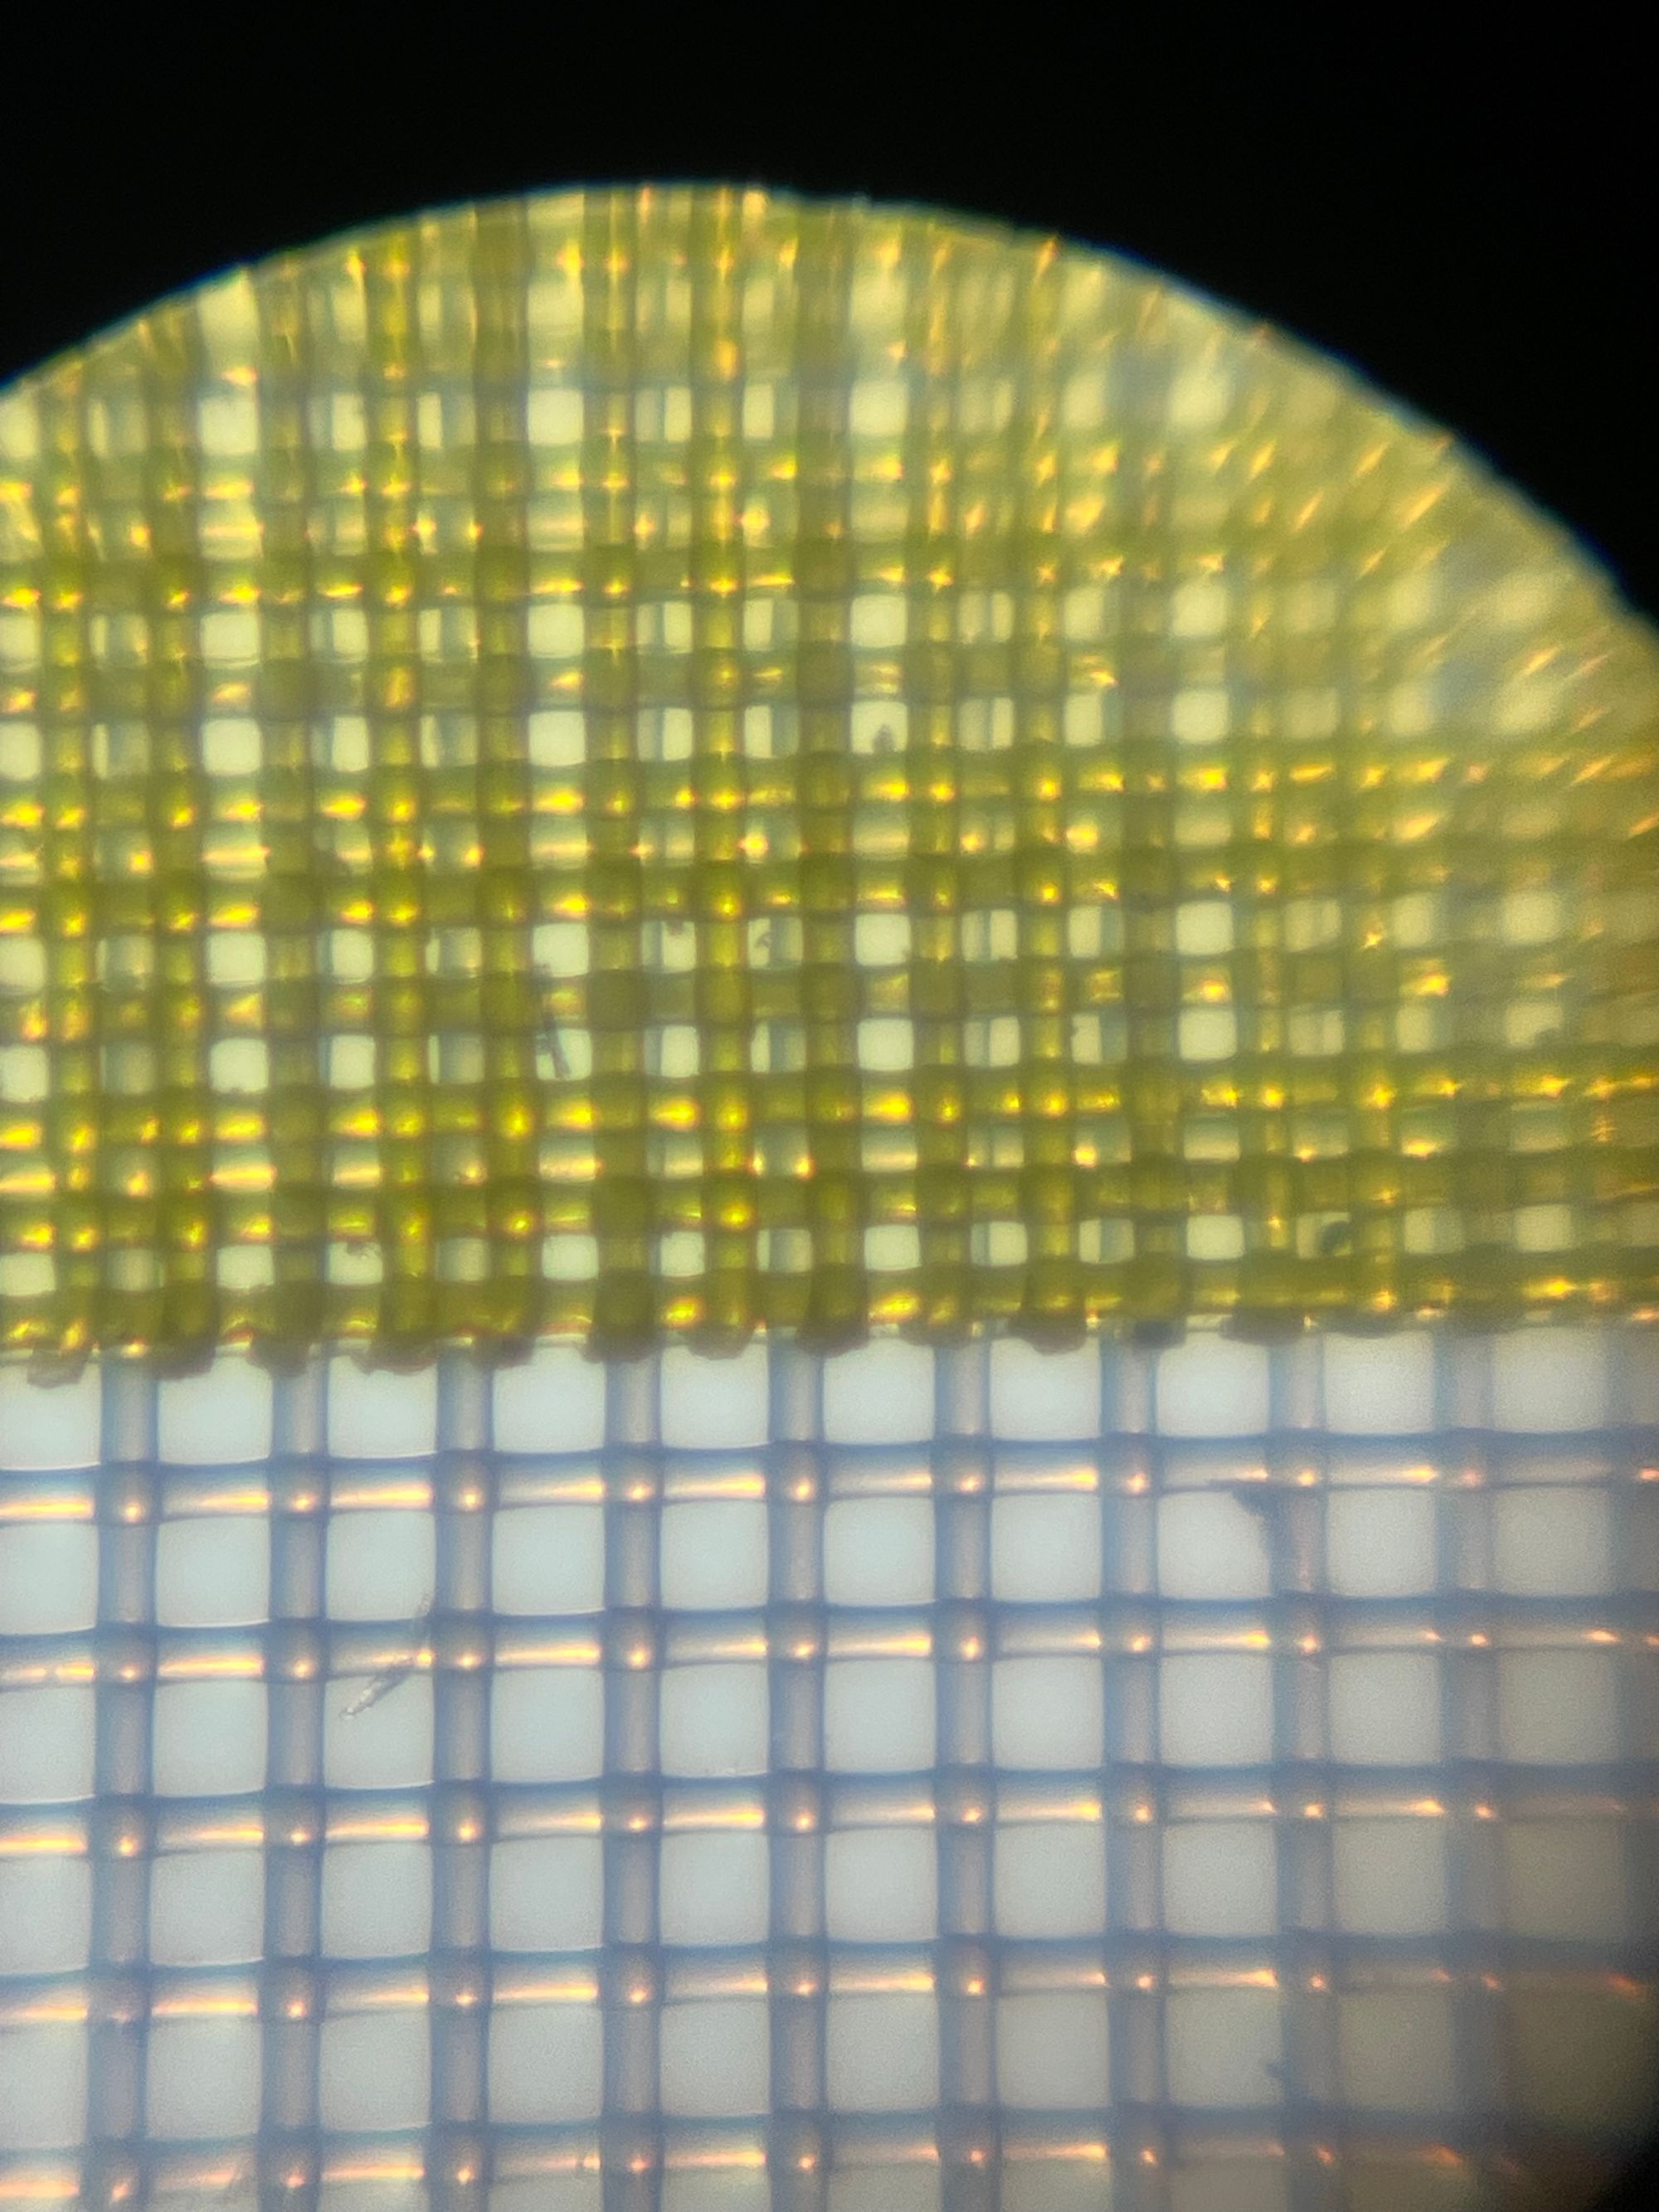
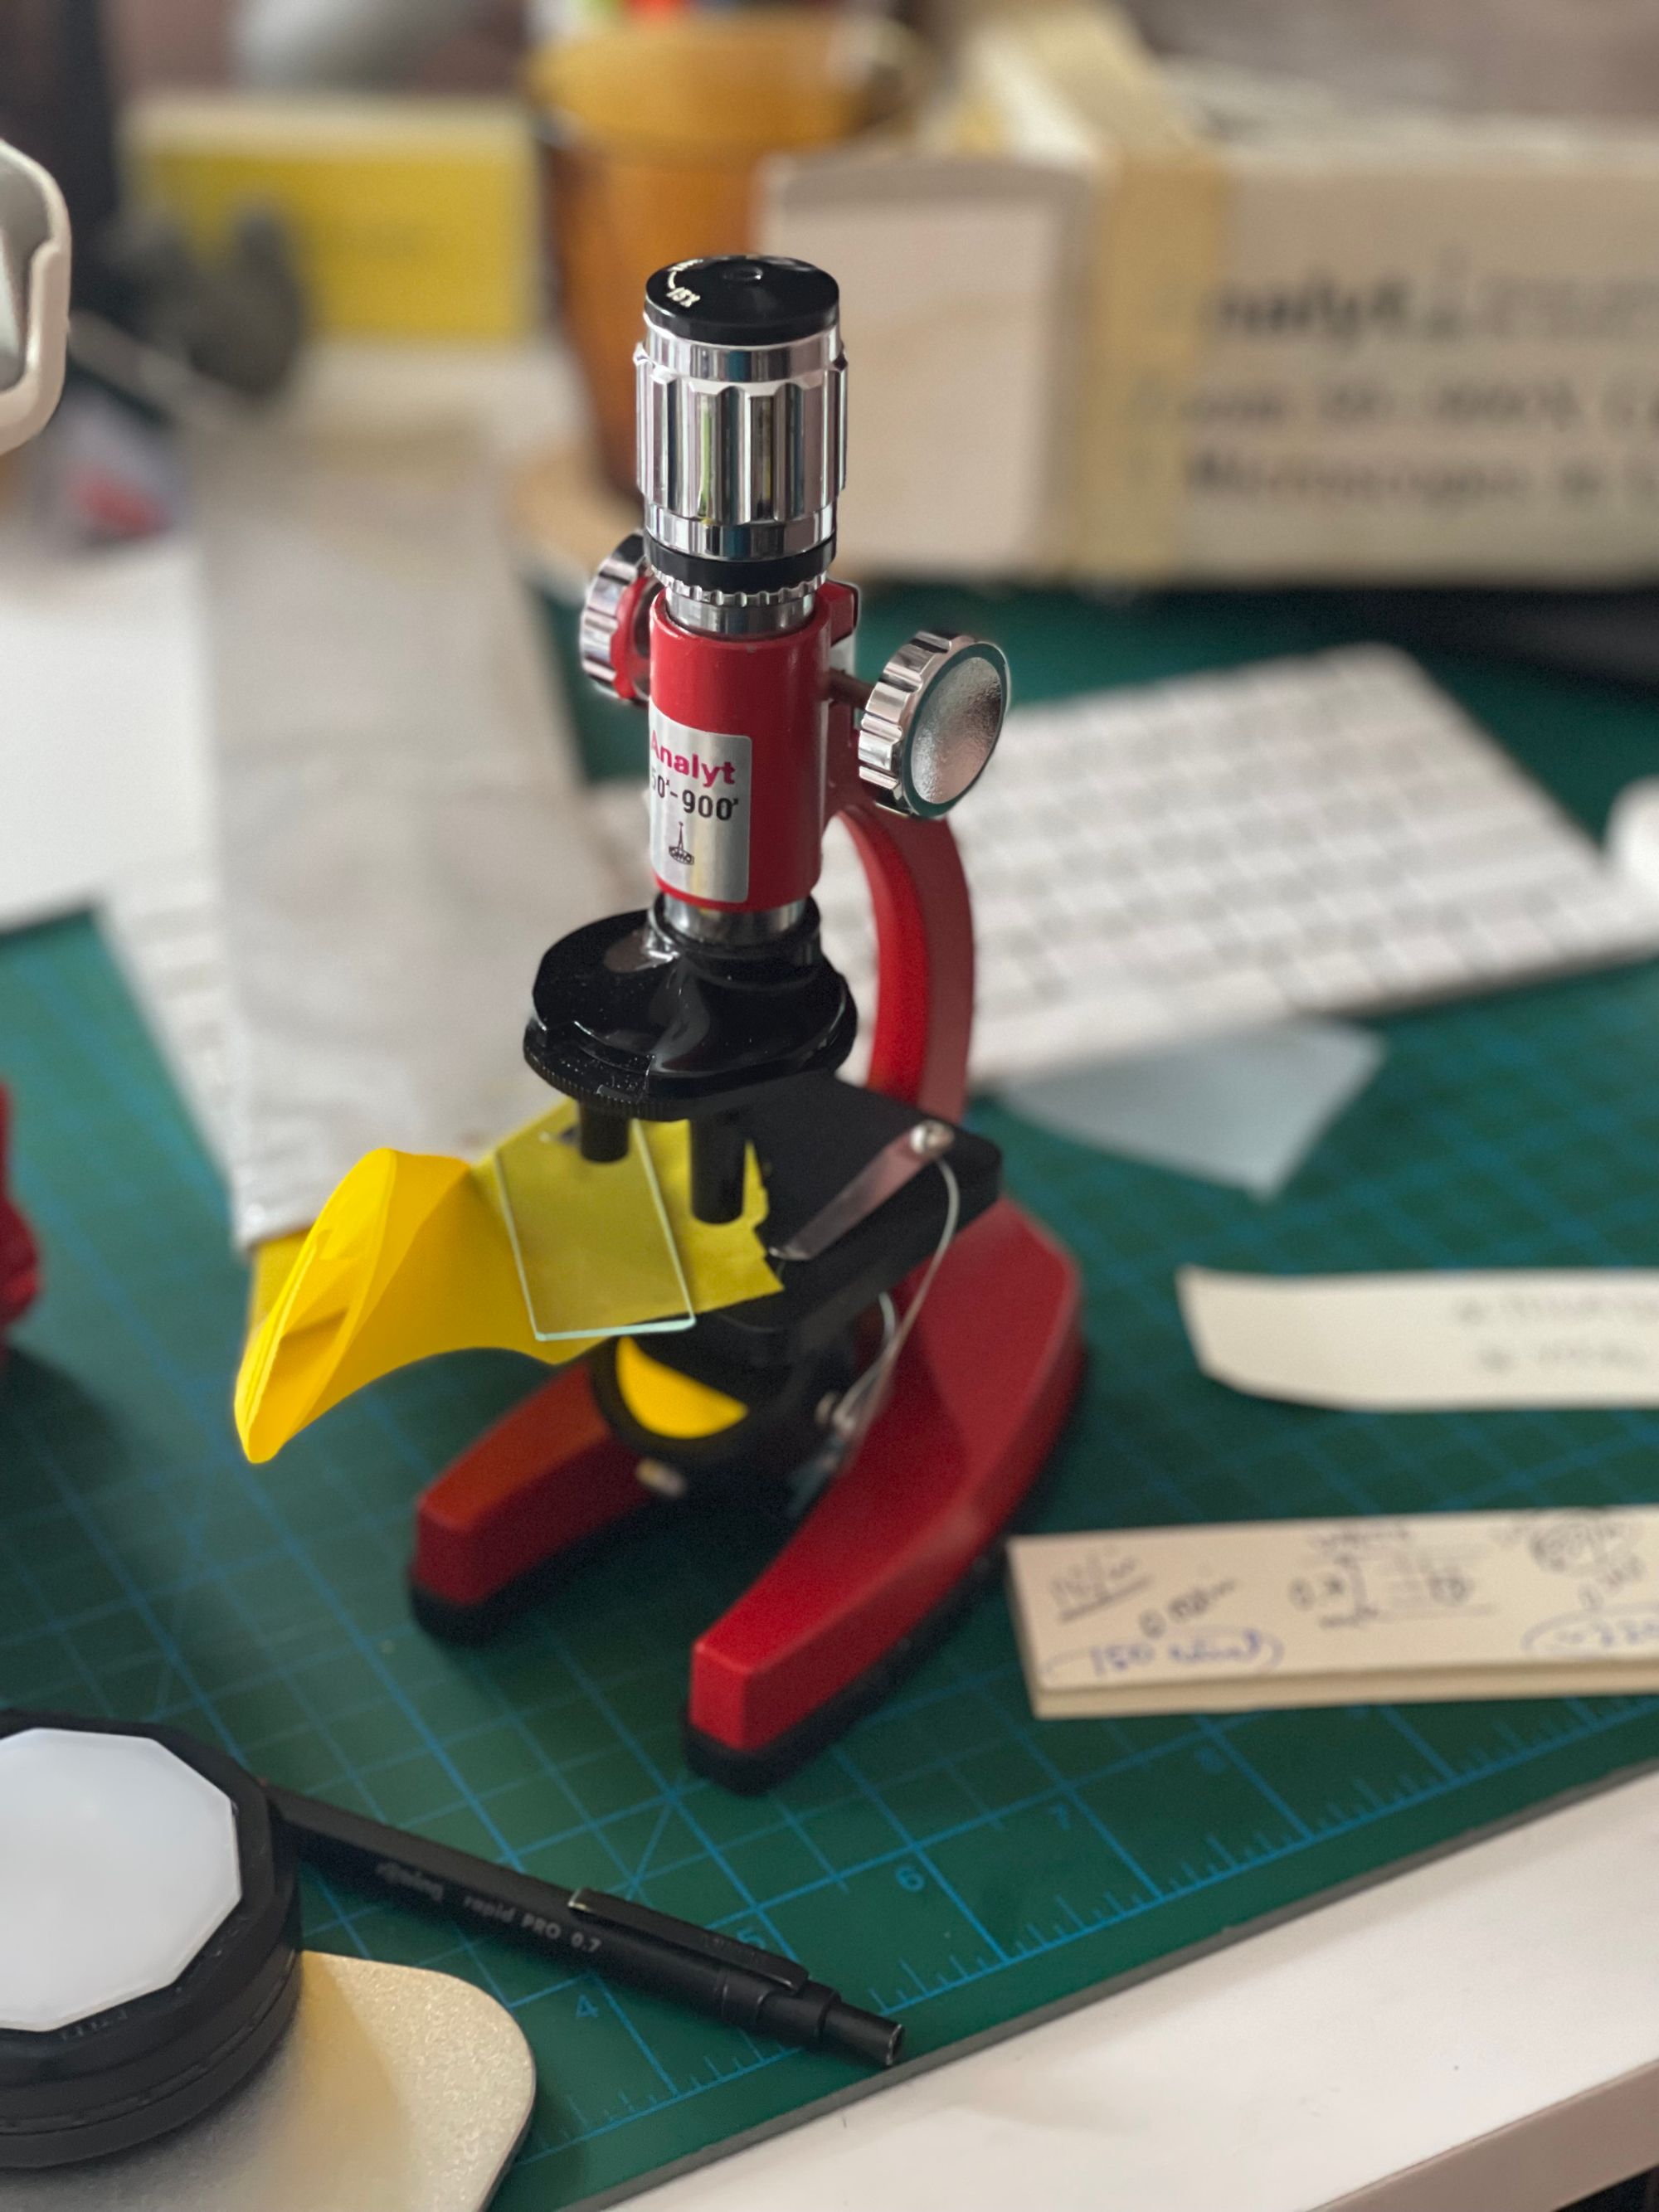
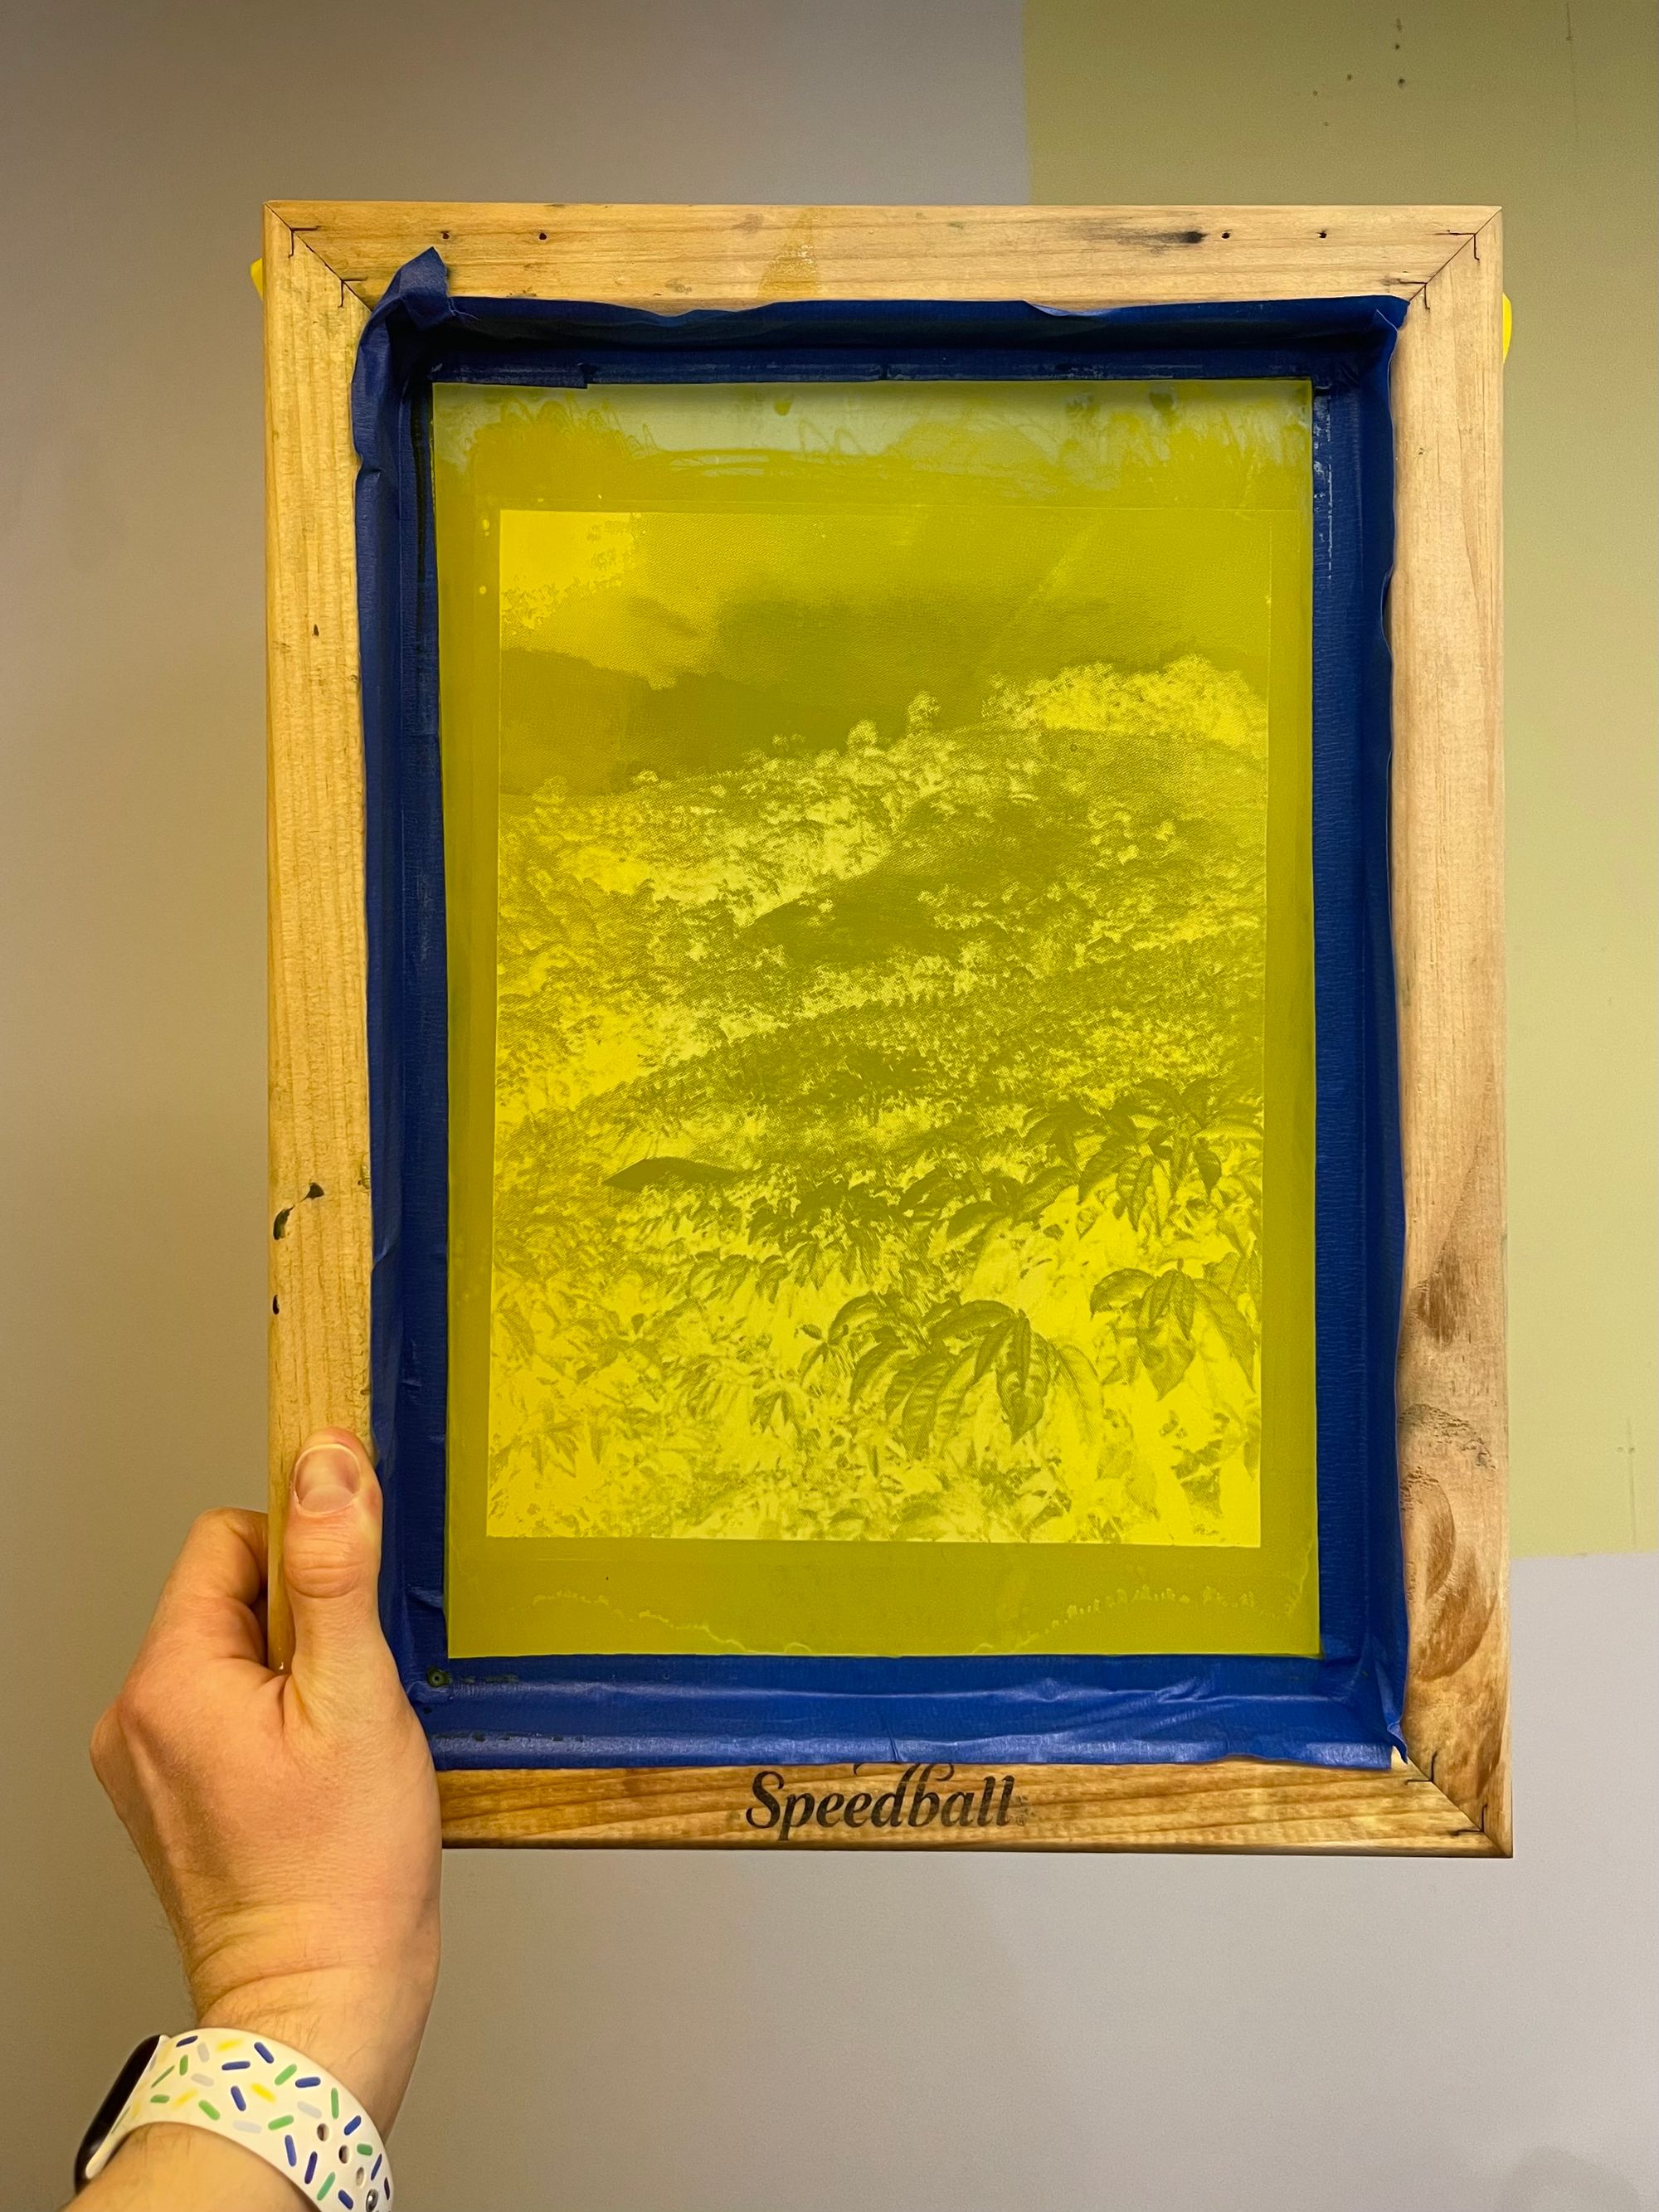
Measuring the mesh count using a microscope, printing the half-tone image on acetate, exposing the image on the silk screen
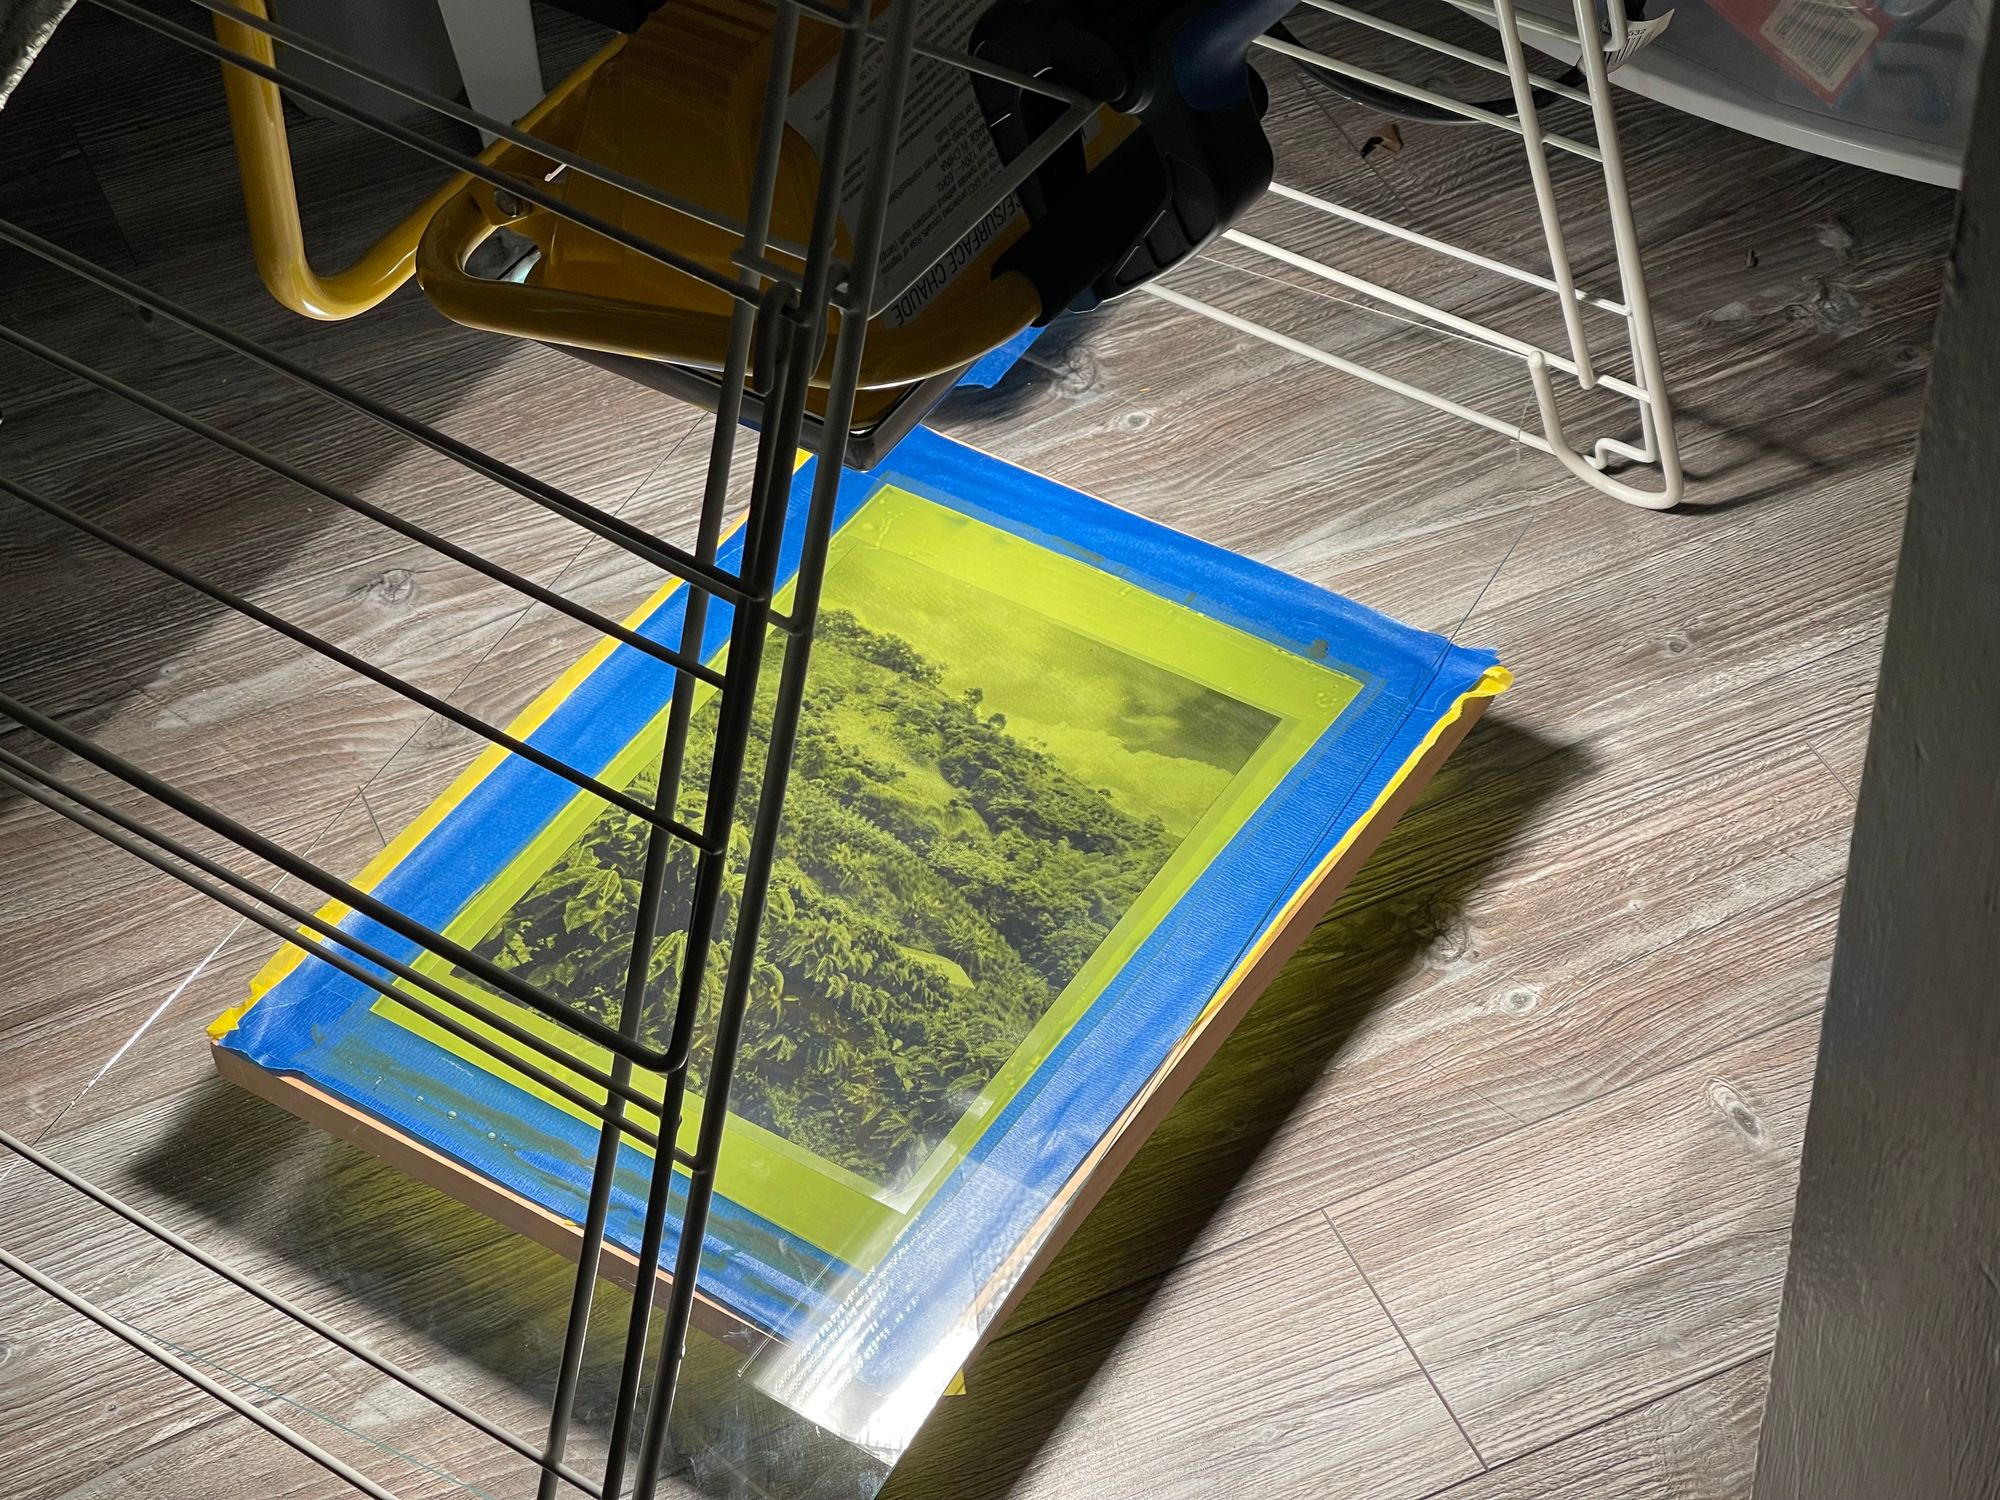
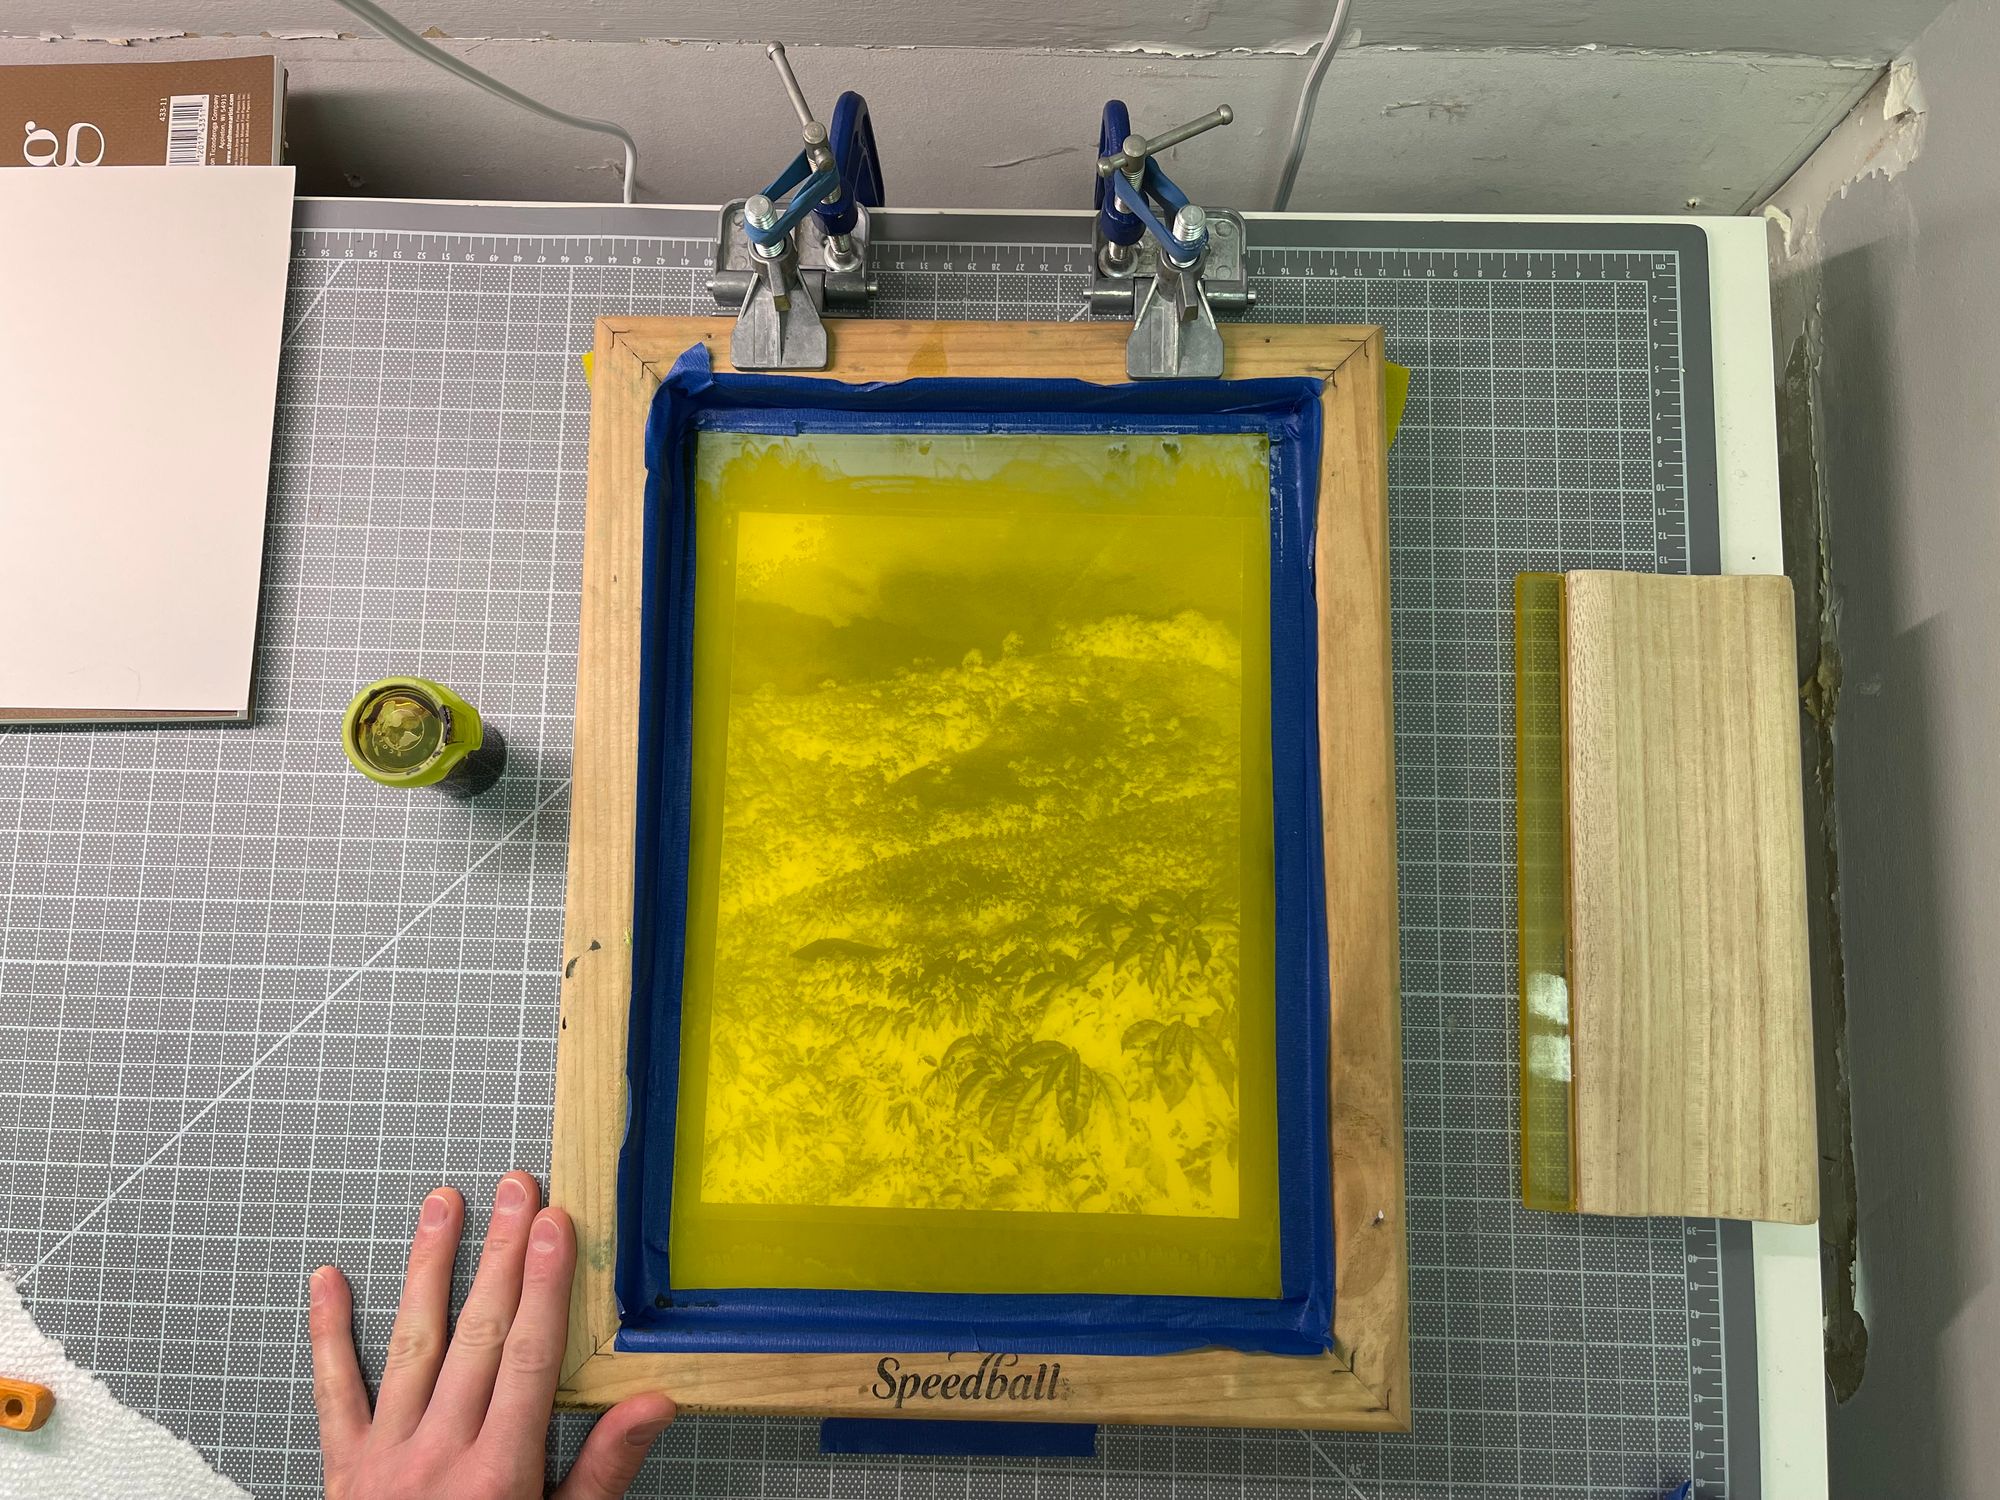
Printing
The printing went well, the guar gum thickens the ink nicely, and adheres nicely to the paper. The ink has a nice depth of colour, I am glad that the guar gum (unlike e.g. a white base) keeps the colour saturated.

Challenges and next steps
As next steps, I would like to try thinner ink in hopes to get a bit more definition in the areas with the very fine dots that get blown out in the print. I would be curious to also try a 300 or so mesh with an even finer half-tone pattern. I've also added vinegar in my most recent batch of ink, but I have yet to try printing with it.